3D print: Gargoyles by mz4250
One of my players bought a filament 3d printer a couple of years ago. For the last episode of my Storm King’s Thunder campaign, I needed lots of gargoyles – so he used them to test printing miniatures. It was an ugly mess. But for a throw-away gargoyle encounter, it was a nice learning experience 😉
Disclaimer: I did not print these with my new Photon Mono 4k resin printer. The figures were printed on an Ender 3.
In the final stretches of Storm King’s Thunder, I needed lots of gargoyle miniatures. However, I only have two from the old D&D miniatures line. So when my friend offered to try printing some test figures with his 3D printer, I of course agreed.
Remember, this was a couple of years ago, in 2019. The printer he used was a filament printer, and not really suited for miniature printing. But lots of people tried anyway.
We found a great sculptor – mz4250 – with the crazy vision to make 3d models for all monsters in all D&D 5th edition books. He succeeded and has a very fair Patreon to support him. But he is a nice guy and even offers all his models as STL files for free on Shapeways and other repositories for STL files. So we downloaded the (now old, from 2016) model of his Gargoyle and printed some monsters. MZ4250 since then has updated most of his old 3d models and improved them a lot. Here is the new Gargoyle on Printables.
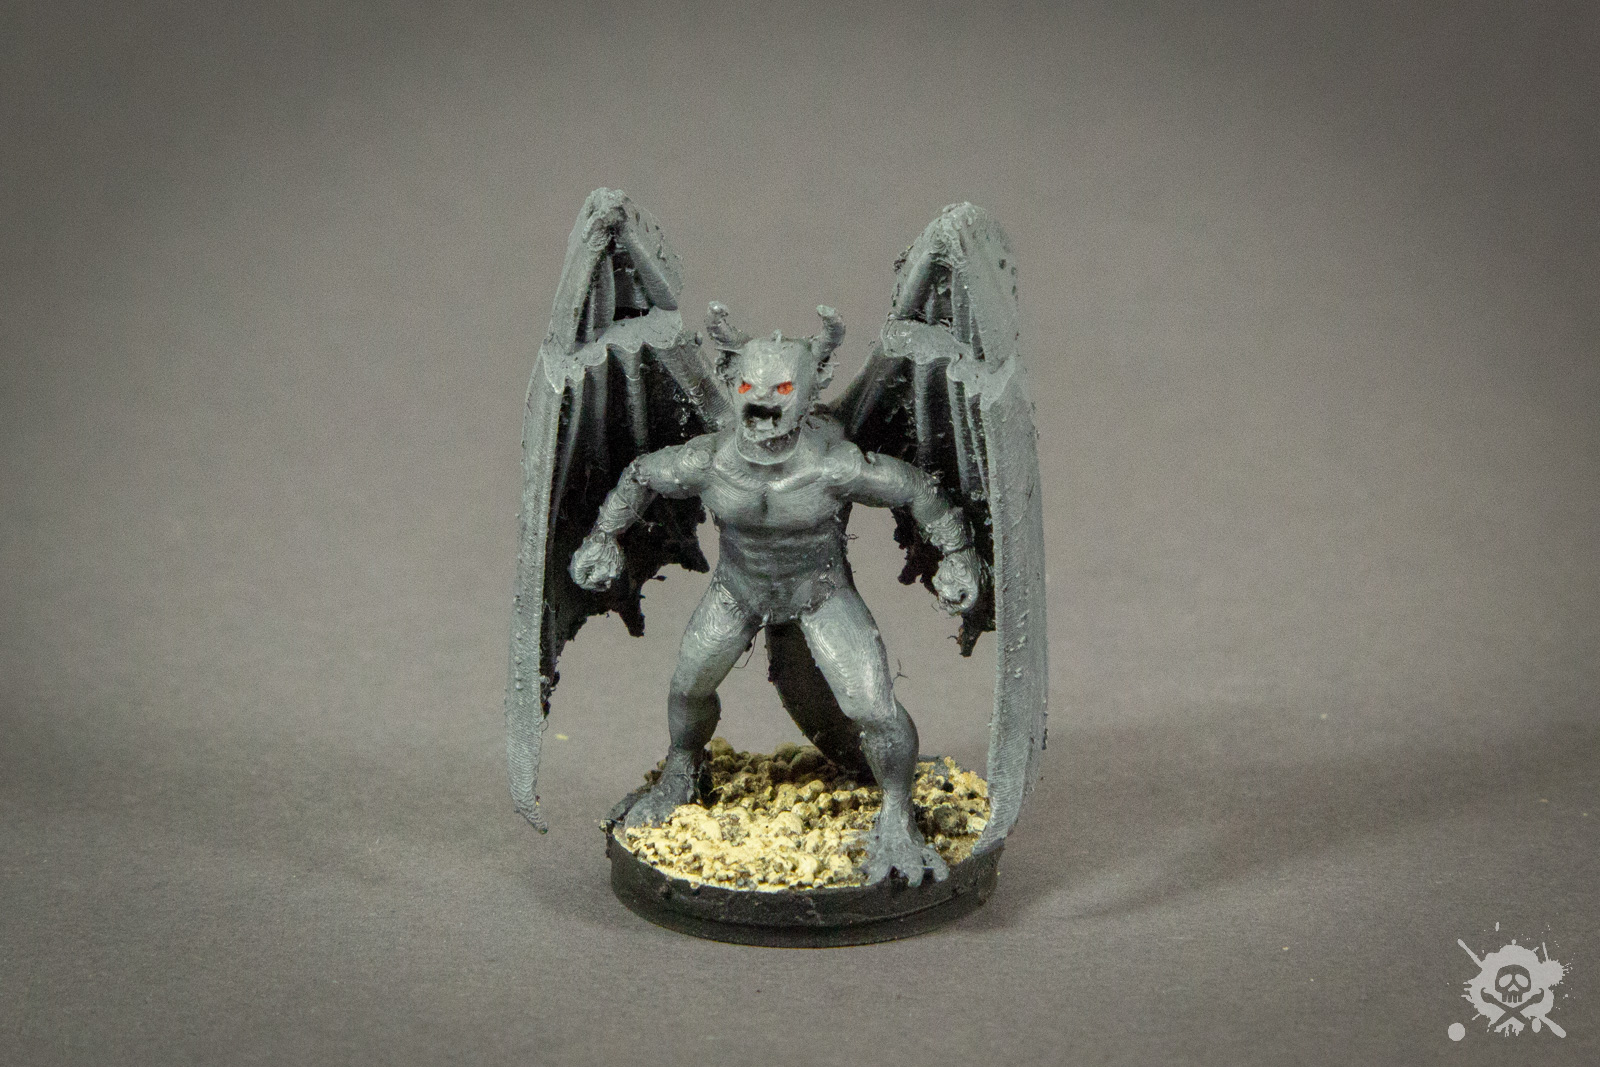
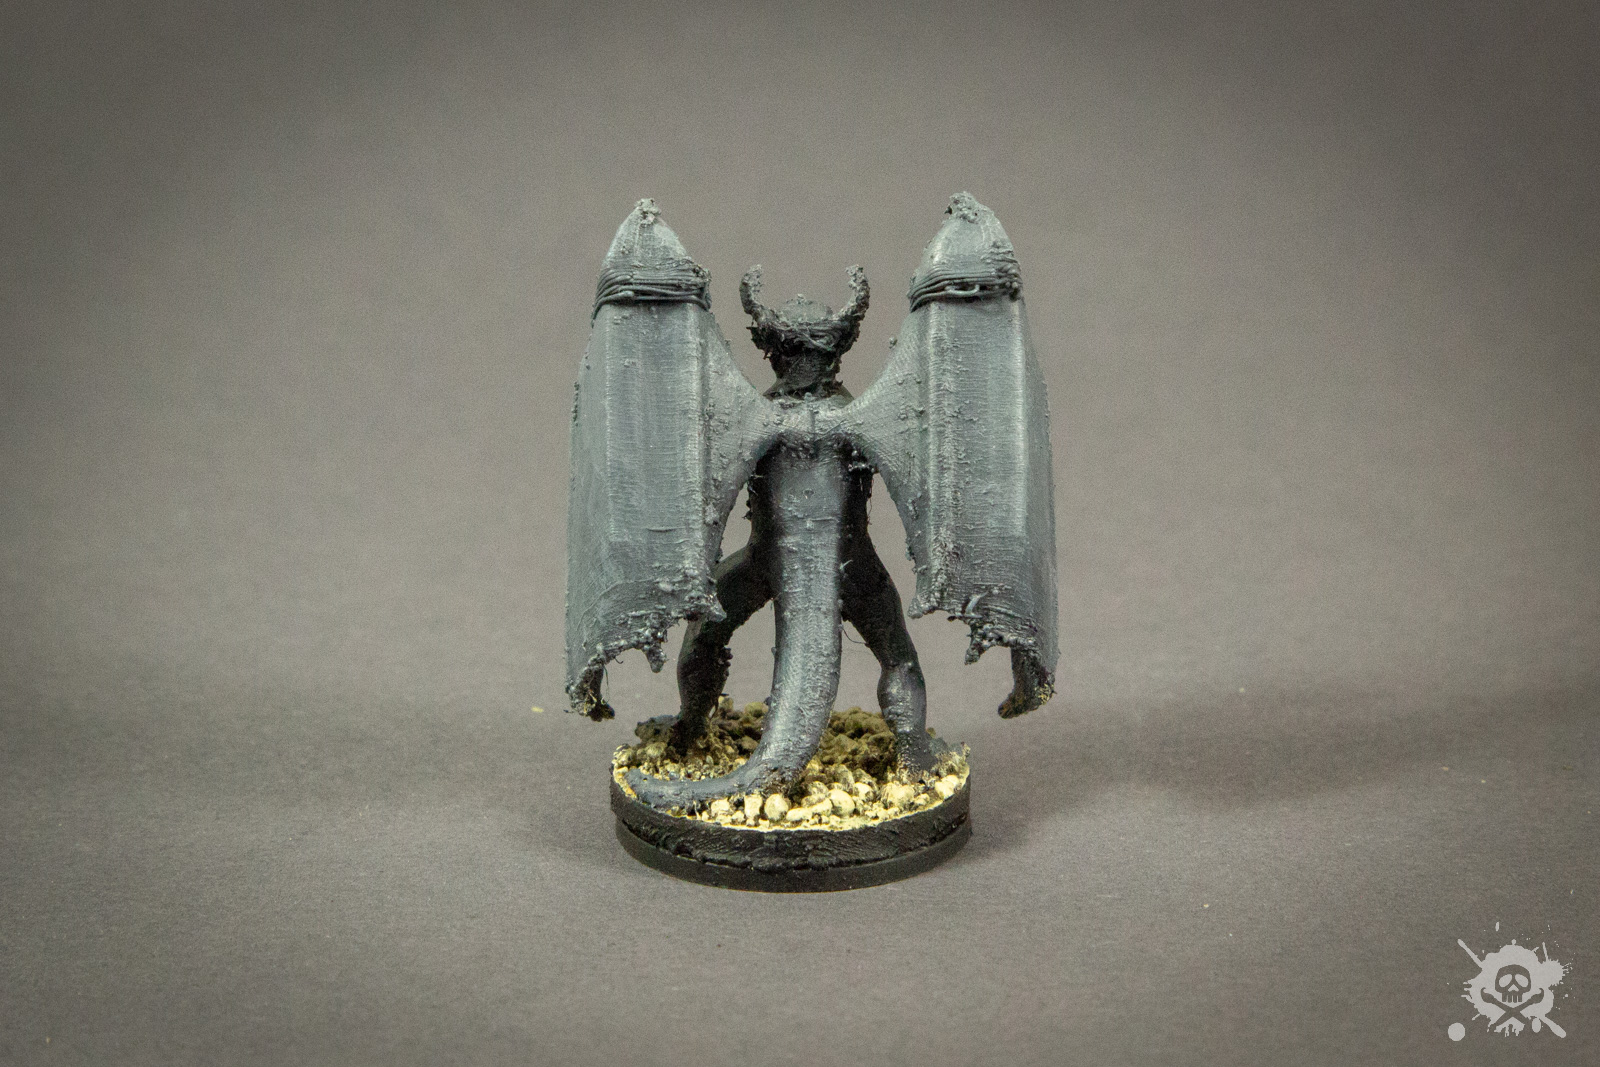
As you can see from the title image, my friend tried different printer settings with varying levels of success. Every single one of the figures had some printer errors in them, and they had a very rough surface. They are really nothing to be proud of when you are painting and posting miniatures on the internet, but I wanted to show you these first steps anyway.
And yes, I painted them and used them in an encounter in the last episode of the campaign anyway.
Basing and Priming
The figures were already printed with a base attached to them. As the prints were not ideally scaled, there were some smaller gargoyles with small bases and one gargoyle with a 1-inch medium base. So I removed the small bases and glued all of them on old Nolzur’s Marvelous Miniatures bases and added some sand. I did not prime the figures and just started painting on the plastic.
Painting
To be honest, there is almost nothing to write about. I just dry brushed the base in sand and painted all the gargoyles with Vallejo Stone Gray. I didn’t do any highlighting or shading here. Furthermore, I only added two red dots in the eyes and called them done for the table.
Here is the best version of the gargoyles. You can clearly see the printer error in the wings, but nah, still works 😉