
Tools of the trade
I painted my last mini well over 10 years ago. So, I’m a little out of practice. Worse, I don’t have any paints or brushes left from the old days. I used to paint my old minis with Revell Oil paints, but from what I surmised from different websites, acryllic paints are the way to go. So while I was reading into the basics, I decided to do it right this time.
Paints, Primer and Inks
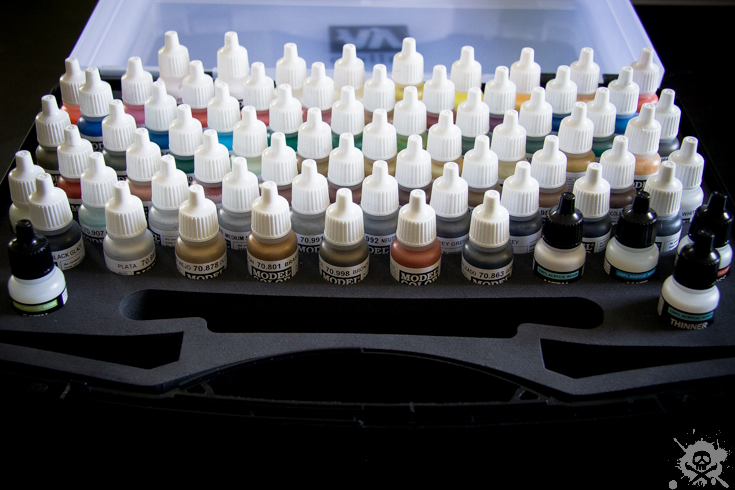
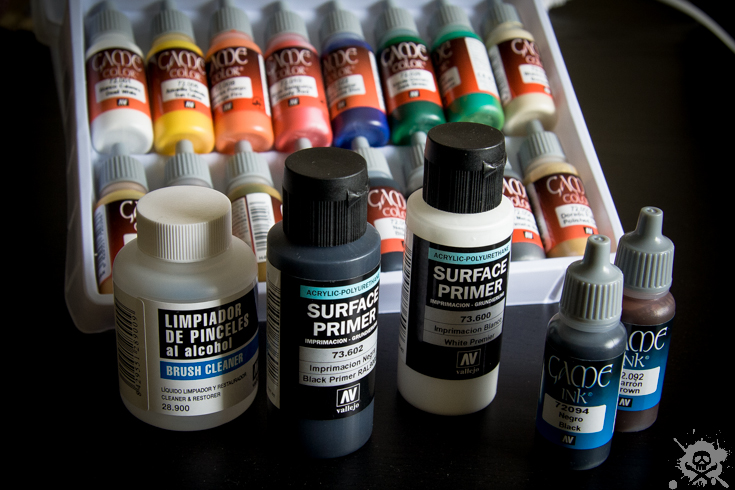
I decided to give Vallejo Model Colors and Vallejo Game Colors a try. The model colors got some decent reviews (#1, #2, #3) and so I bought the set containing 72 colors including thinner, some metallic, satin and glossy mediums as well as some brushes. It all comes in a nice carrying case at a reasonable price.
In addition to the Model Color Set, I bought the Intro Set and the Skintone Set of Vallejo Game Colors. The Game Colors are much more saturated and brighter than the Model Colors and should make a miniature pop out some more. At least, that’s what I read on the internet. The Game Colors are also a little thinner, making them easier so paint. All model and game colors come in 17 ml. bottles with an eyedropper. This prevents the paint from evaporating and drying out and it allows to only use a drop or two on the mixed pallet.
Finally, I also grabbed a black and a white primer from the Vallejo polyurethane surface primer line and a brown and a black ink from the Game Ink Line. I read that the primer gets along pretty well with the bones material and is also great to spray on with an airbrush.
Brushes
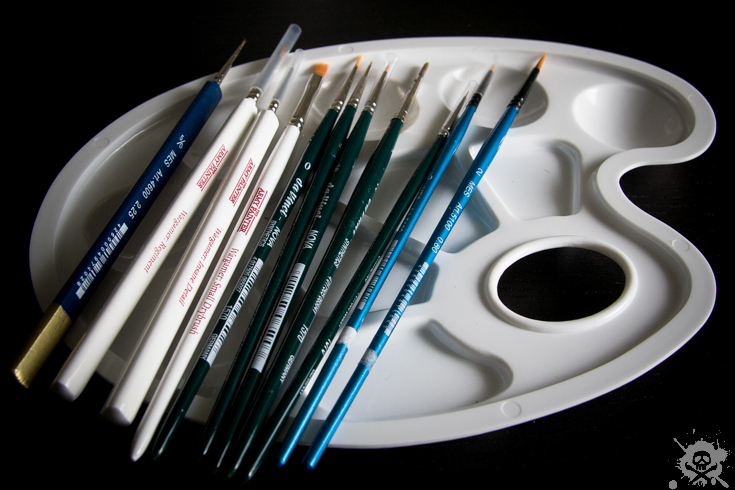
A starter set of brushes was already included in the Model Color Set. I bought some more from Army Painter and some cheap synthetic brushes to practice with. Nothing too fancy here.
Airbrush
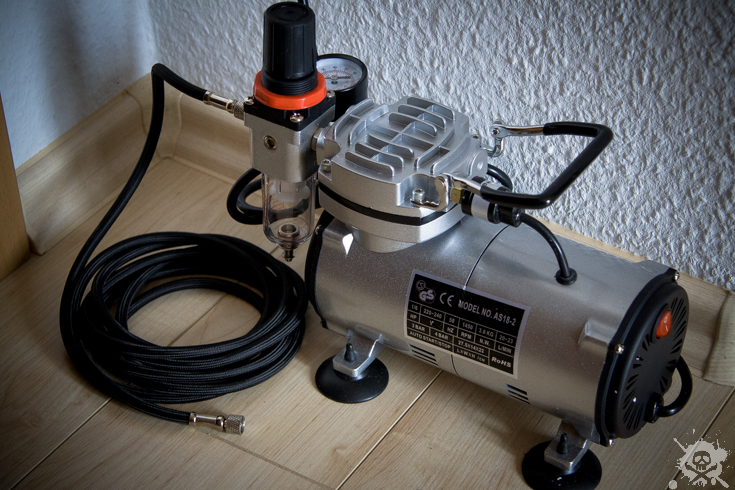
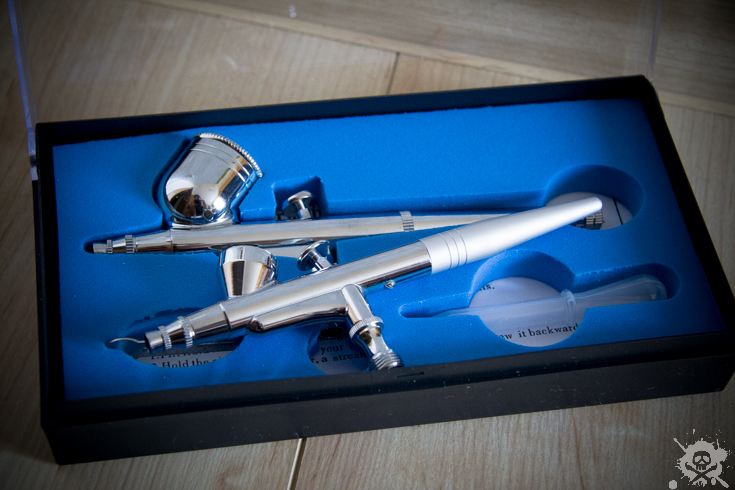
I read that an airbrush is the cleanest method to prime miniatures. The paint is sprayed smoothly and evenly across the whole model and it’s very fast. So with over 300 miniatures to paint, I decided to invest in a cheap airbrush pistol (a no name 17 euro dual action pistol from amazon) and a small compressor (model AS18-2) for 50 euro. The compressor can also be used to inflate things like bicycle tires, so it’s not bad having one around.
Bases and Basing Material
I decided to give every miniature from the kickstarter set a new round base to use them on a game grid more easily. I ordered tons of 25mm bases for the standard (“medium-sized”) minis, as well as 20mm bases for small minis such as the kobolds or rats, and a lot of 30mm, 40mm, 50mm and some 60mm bases for the bigger guys. For the giants and demons, I bought some nice textured resin bases. The minis are glued onto the bases with super glue (plastic glue). For the bigger models, I think I will need to pin them, so they don’t fall off. To texture the bases’ surface, I use simple putty from the hardware store. As I don’t want to cut all minis off their included bases, it really helps you create a rough texture and a nice transition from the included bases to the round bases.

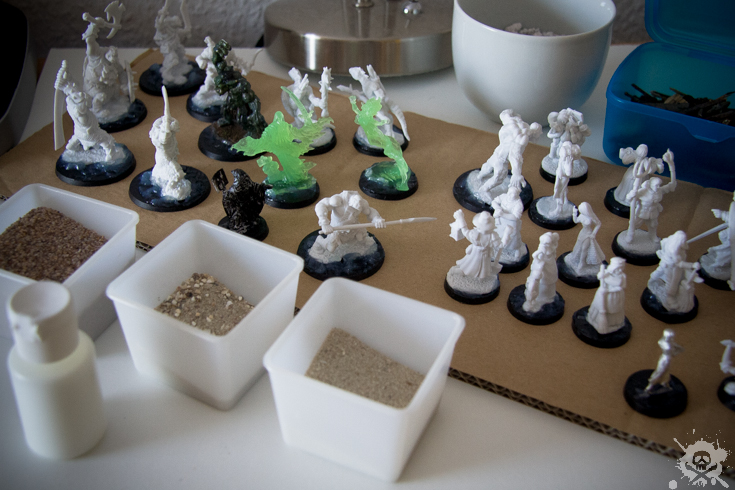
You don’t need much to create a nice looking base. Some coarse and some fine sand (e.g. bird sand), some little rocks, a bit of kitty litter and some small twigs will do nicely. These will be glued to the base with white glue (wood glue) and later painted and drybrushed. After the whole miniature is finished, some static gras and little miniature shrubs and model leaves will be the icing on the cake.
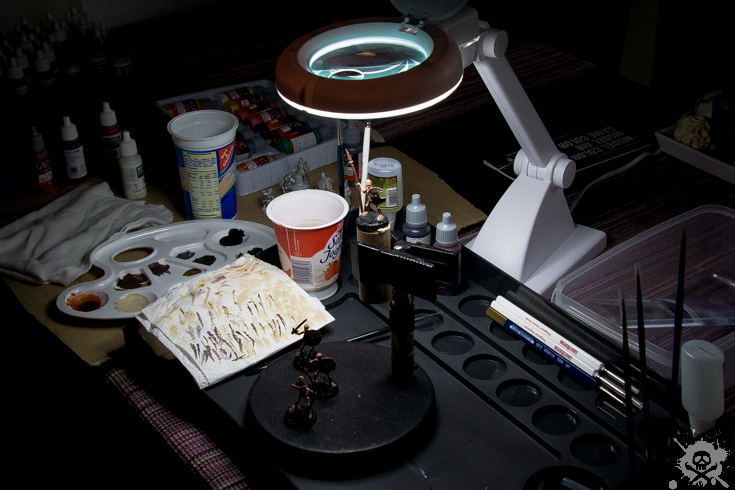
Besides the things mentioned above, you obviously need a nice working setup, cups for water and good lighting. A cutter blade also helps a lot when preparing the minis (e.g. removing mold lines at the sides or cutting them from their bases).
So, I suppose that’s all the basic tools and stuff I will use on the miniatures.