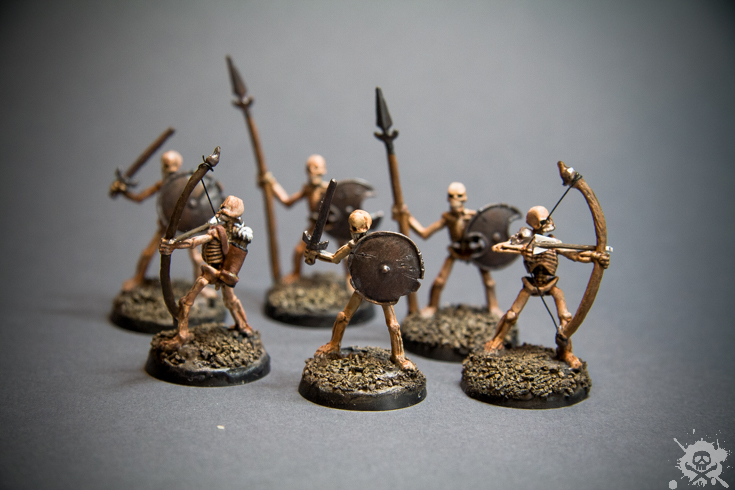
Skeletons from “Undead Horde”
Finally, I had some time and finished my first Reaper Bones figures. So, today I’m posting the first finished figures: 6 skeletons from the Bones Undead Horde Set. Sadly, I didn’t take pictures in between for every step.
Preparation
Reaper marketing says, that you can paint the minis out of the box. Maybe you could do that, but the community over at the Reaper Message Boards suggests a couple of steps for preparing the Bones for painting. First, I took a sharp knive and removed mould lines and ridges. These are the remains of the two parts of the mold, when the miniatures were produced. On some Bones, this can really be ugly. But fortunatly, a cardboard cutter and a fine rasp can fix that. In addition to that, I thought some cracks and dents in the skeleton’s shields would look nice and give them an old, more worn-out feel.
Next, I cleaned the miniatures by giving them a good scrubbing with lukewarm soap water and a kitchen brush. That’s important, because remains of dust from production and especially skin oils may repel paint later.
In the last step of preparation, I had to reshape the spears and bows of the skeletons. My kickstarter package has probably spent several days in a very hot environment during shipping, so many of the figures are a little deformed. Engineer Jeff posted a nice video on YouTube, in which he shows how to fix the Bones with boiling water. So, I dipped the skeletons in boiling water, reshaped their weapons, and dipped then them in ice cold water to harden them.
Basing and Priming
After prepping the figures, I first glued them on round 25 mm black plastic bases with super glue. Then I thinned a little bit of white glue with water and applied it to the base with an old paint brush. Lastly, I sprinkled coarse sand over the bases, and let everything dry for a couple of hours. The next day, I primed the miniatures and the bases with black primer (Vallejo Black Primer) using an Airbrush.
Painting
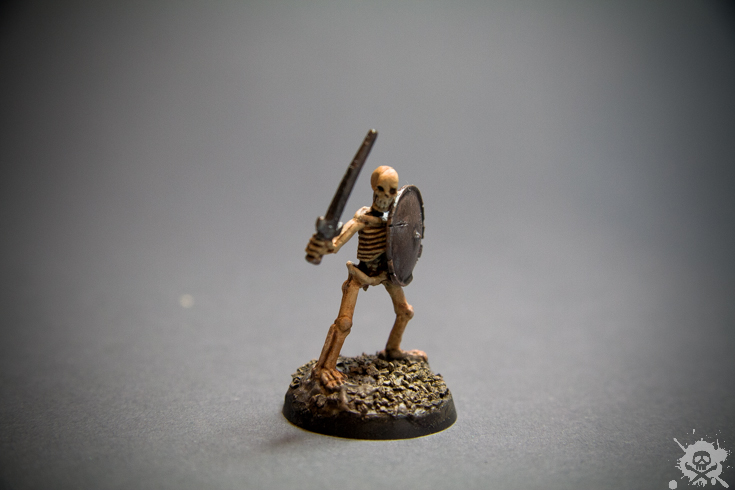
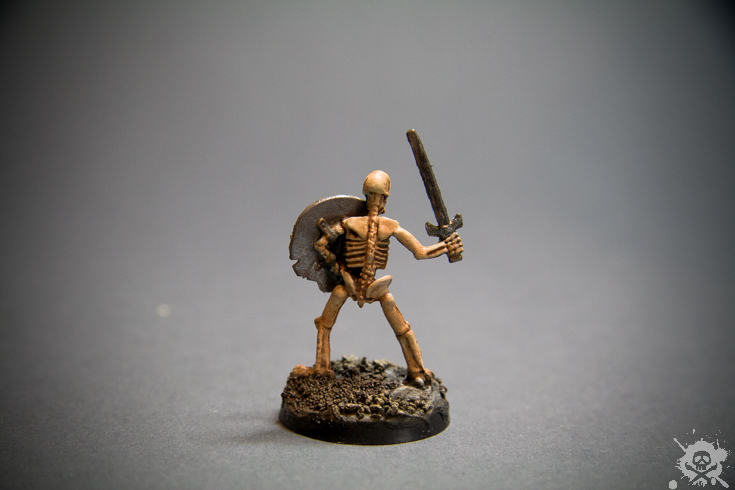
I started with Vallejo Game Color (GC) “Bone White” as a basecoat for the skeletons, and GC “beasty brown” for the spears and bows. For the metal swords and shields, I mixed some Model Color (MC) “metal medium” (gives some nice metallic flakes), “gunmetal grey”, “black” and “copper” together. The copper gives the mix a rusty look, the black makes the metal look very dark and old. I later put some “copper” on a paper towl and applied some more rust effects on the shields. Other people have done great jobs on these figures with very cool shield designs. But, I decided not to use bright and saturated colors on the shields, because I wanted them to look really old and rusty with all the cracks and missing parts.
After the basecoat, I washed the whole model with “sepia” ink. On some of the skeletons, the paint really settled nice into the crevices of the bones and the shields. On others, I maybe used too little ink, so it dryed not perfectly and I had to redo the basecoat on some spots. After that, I highlighted the spine, elbows, skulls, hips, and shoulders with GC “Bone White”. The rest of the models was darker, due to the wash. For the teeth, I used an even lighter shade, MC “ivory”. The quivers of the archers were painted in MC “Leather Brown”, for all other leather straps I used MC “Chocolate Brown” for contrast. The feathers of the arrows were painted with MC “Offwhite”.
The bases were drybrushed first using a very dark brown (MC “chocolate brown”), then getting lighter which each pass, ending with a sand color (MC “Desert Yellow”) for the hightlights.
Finishing Touches
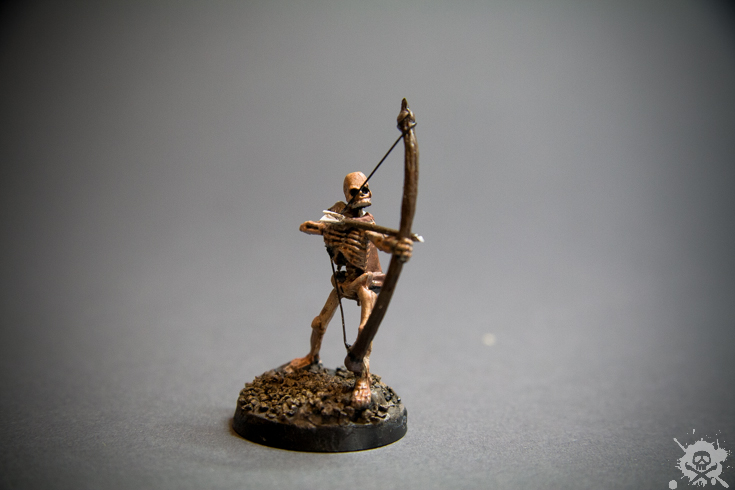
After I was finished painting the skeletons, I decided to try something I wanted to do for a long time: Giving the archers real strings and arrows to make them look more realistic. I bought some 0.3 mm metal wire at a hobby store and cut out two short pieces for each archer, and glued the pieces above and under the hand pulling back the arrow. For eye candy, I wrapped the upper wire part around the top of the bow. Even with a tweezer, I found this to be a really annoying task, as the wire didn’t hold the most of the time. Finally, I painted the string MC “black”.
For the arrows, I cut two small pieces out of a paper clip and used a file to make the heads be pointy. For the feathers, I cut out some triangle-shaped parts from an old piece of plastic. after glueing everything together, the whole arrow was primed black and then painted (GC “beasty brown” for the arrow shaft, MC “Offwhite” for the feathers, the arrowhead has kept its natural metal look).