Best of Storm King’s Thunder
![]()
-
Fantasy Gallery
-
Battle Maps
-
Campaign: Storm King’s Thunder
(Level 3-13) -
Contact me
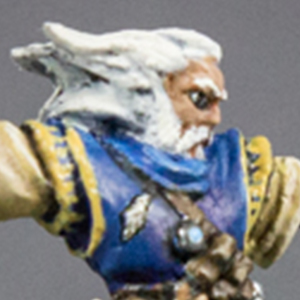
All miniatures from my Storm King’s Thunder campaign have been posted. This is a summary of my second Dungeons & Dragons 5th Edition campaign with some game statistics, all the story episodes at our table and the new miniatures.
We ran Storm King’s Thunder (SKT) from 2017 to 2019. The adventure was released by Wizards of the Coast for 5th Edition Dungeons and Dragons in the fall of 2016. It is designed to take players from level 1 to 11 during the campaign. However, since none of my players were new players, we decided to start at level 3 – as this is where the fun for most classes begins. We finished the campaign with all characters at level 13.
- I wrote a short article about the start of the campaign and house rules used here.
We played Tyranny of Dragons as my first 5th edition campaign, as it was the only one released when we started in 2014. When we finished, several other official adventures have already been published. However, we skipped the Elemental Evil, Rage of Demons and Curse of Strahd adventures, as I found the idea of a Giant-themed campaign very cool. It would take the characters all over the North of the Sword Coast and face to face with giants of all kind. After an epic, very dragon-heavy previous campaign, giants were a welcome change.
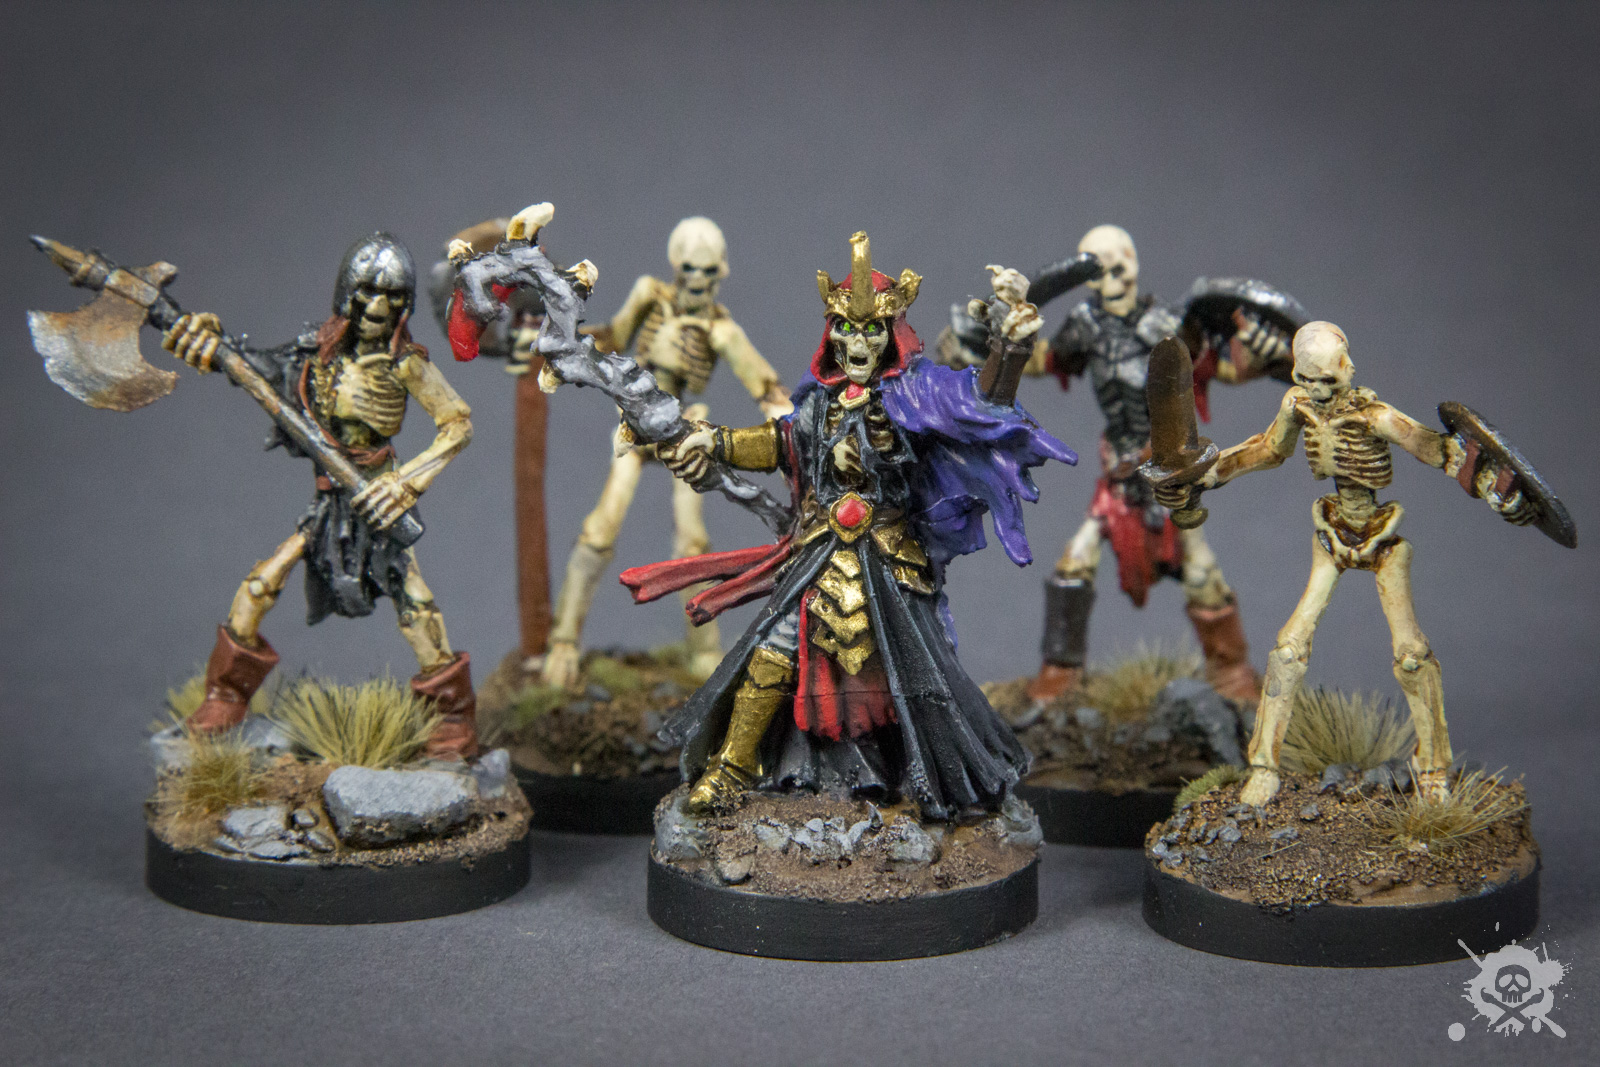
All the miniatures I posted since the end of the last campaign were used for Storm King’s Thunder, and I will include them here to show you how they fit into the story. However, I did not paint as many figures for this campaign as for the first one. The main reason was that I could actually use a lot of the standard minis again (e.g. undead, orcs, beasts, etc.). Another reason was, that the campaign was shorter and had fewer sessions, resulting in not needing as many minis in encounters. And finally, during the campaign, my son was born – shifting time and focus a bit away from miniature painting.
For this campaign, we were six players, playing roughly every week.
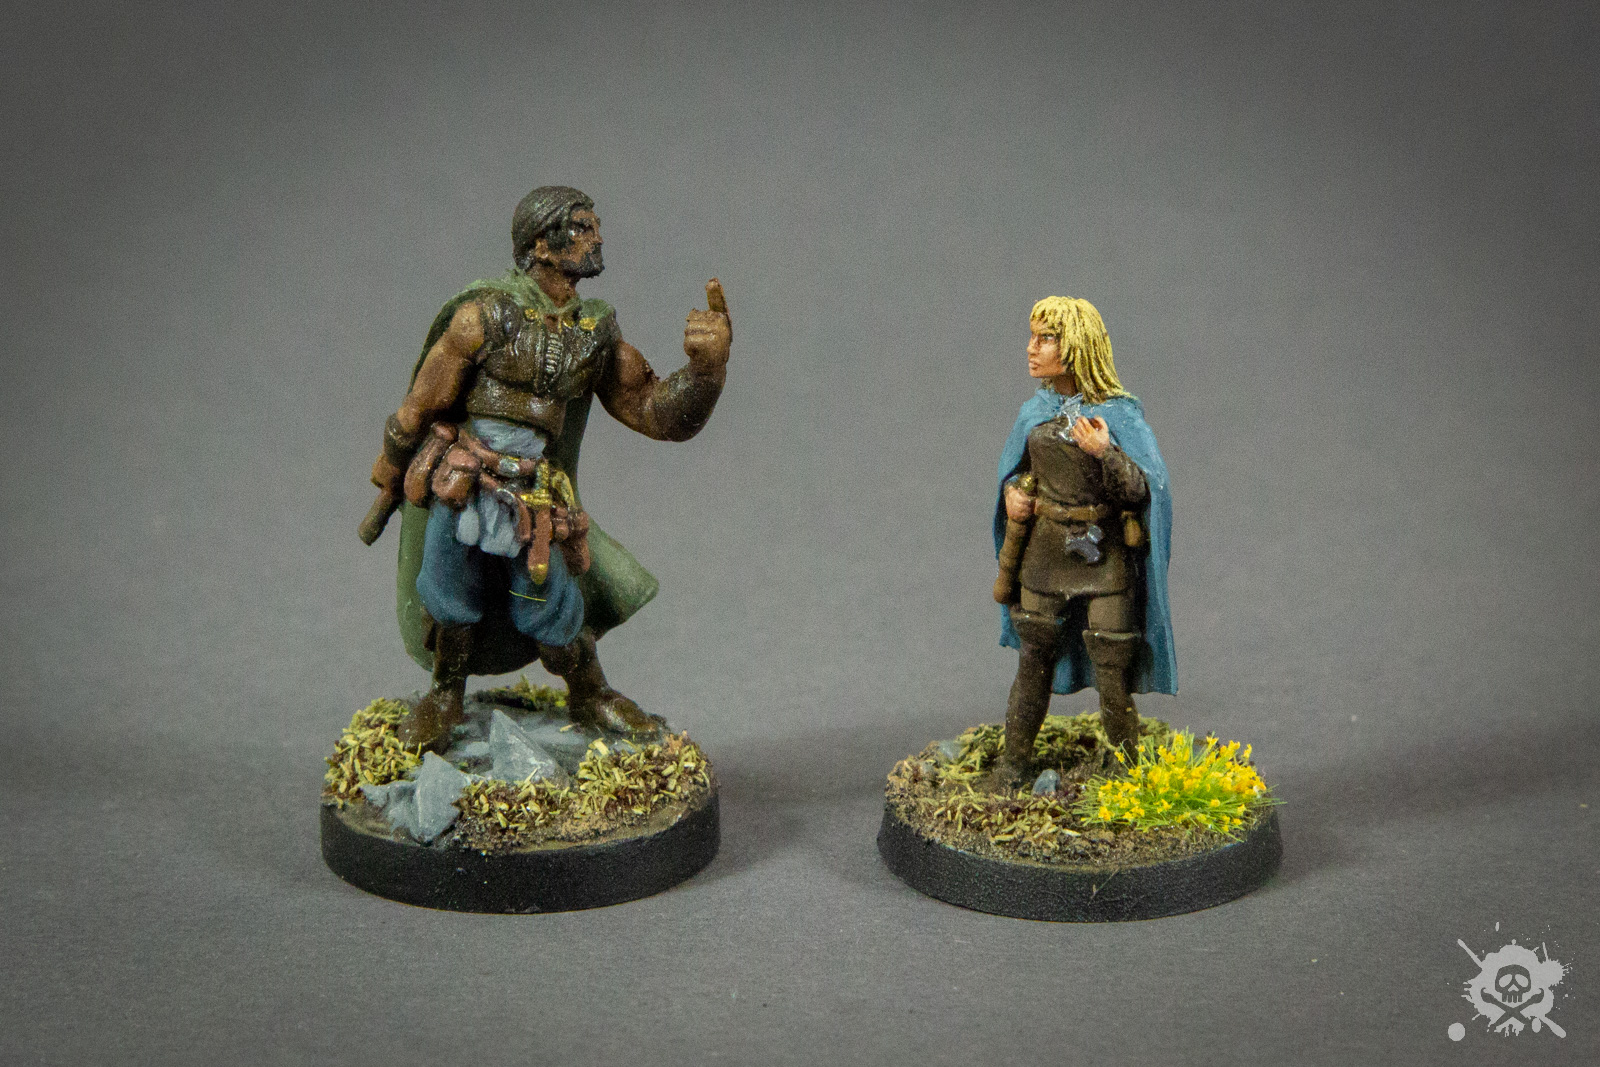
Here are the player characters and their miniatures:
-

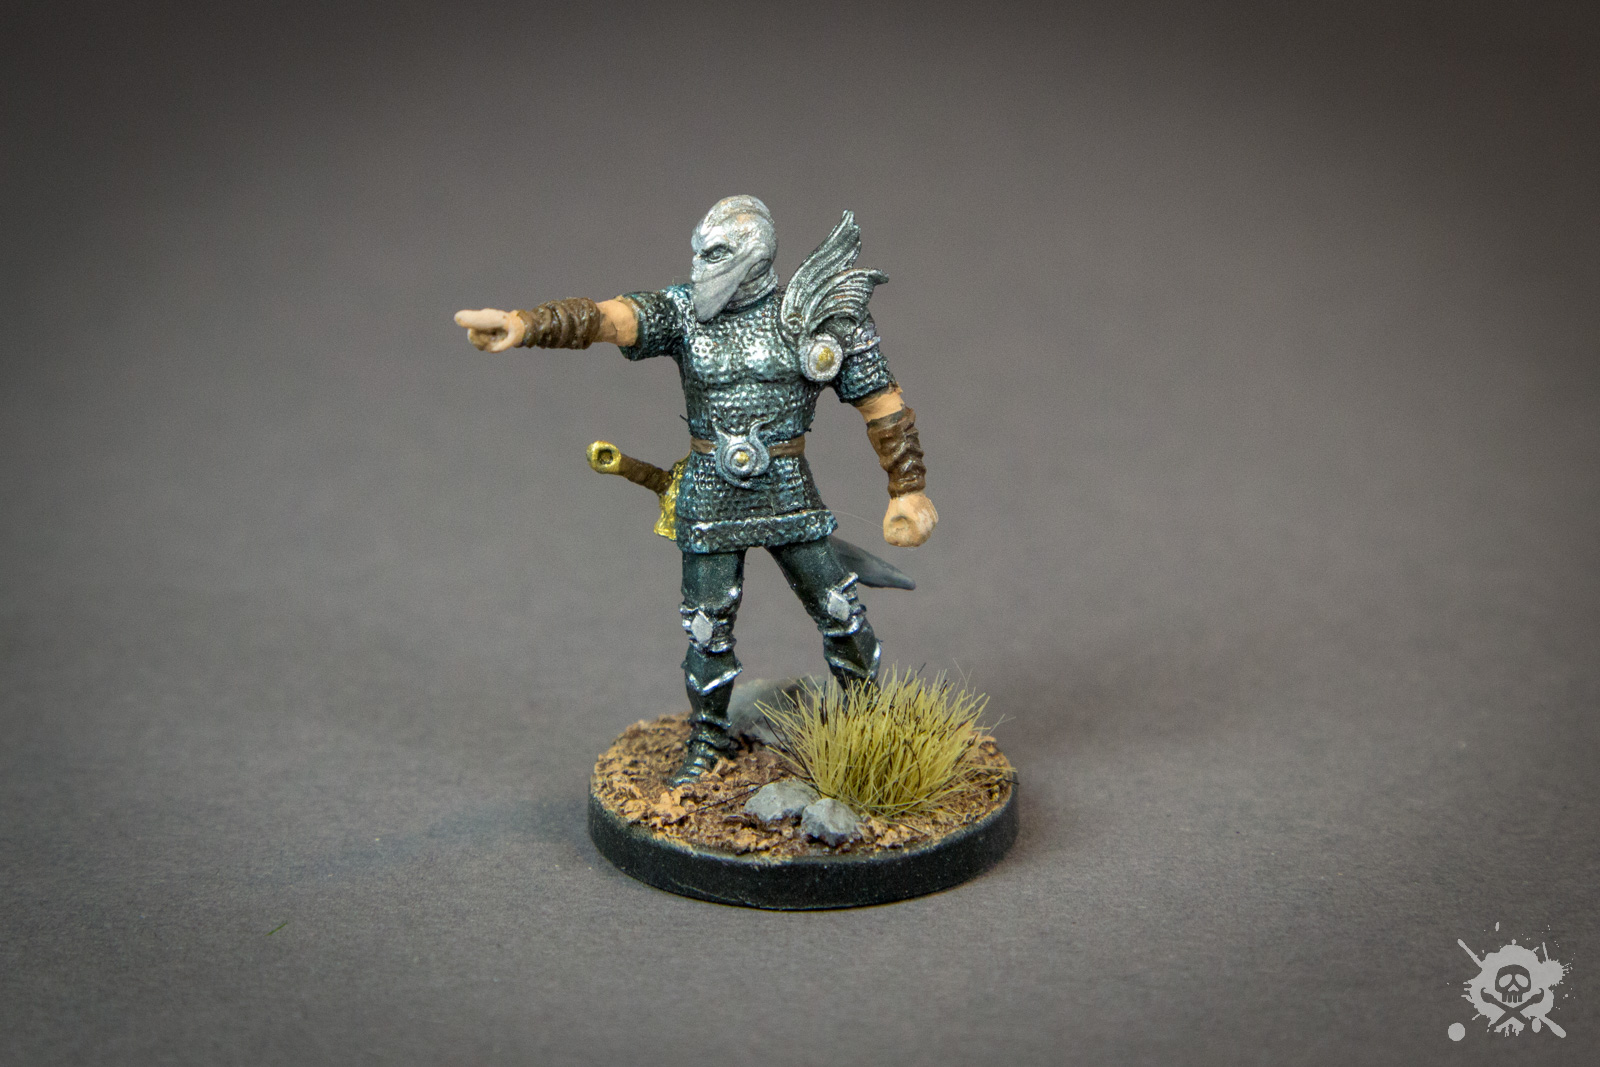
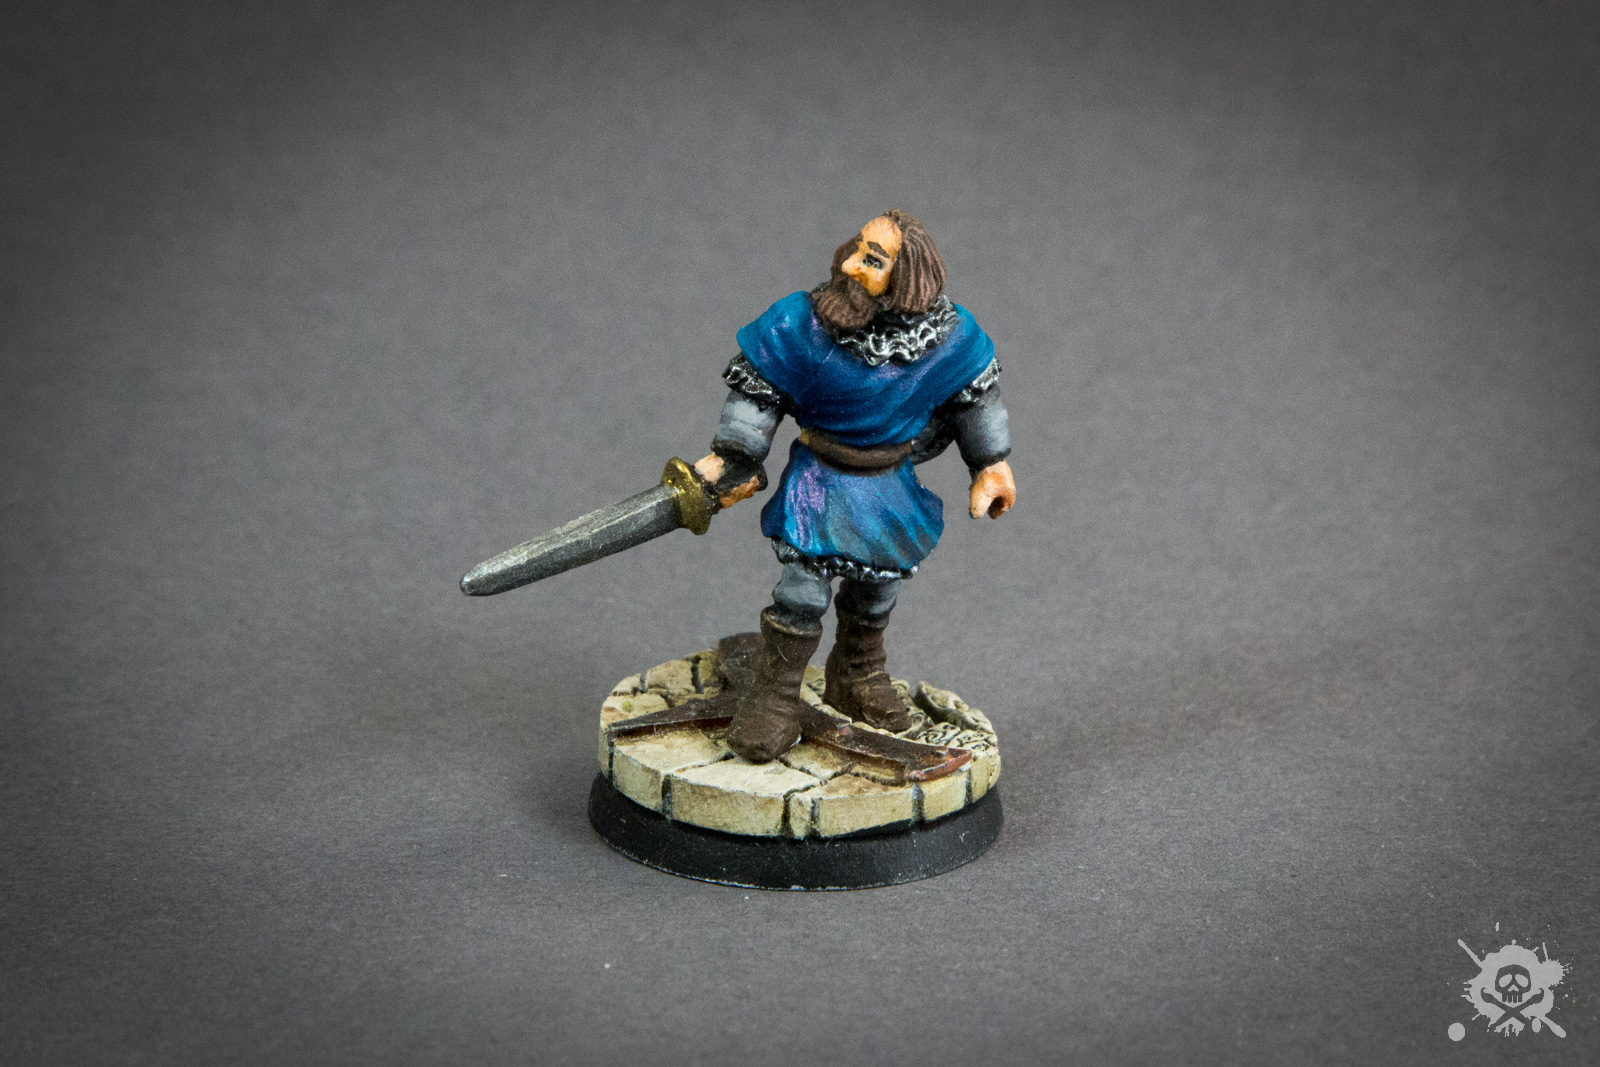
Balthor (human totem barbarian/beastmaster ranger)
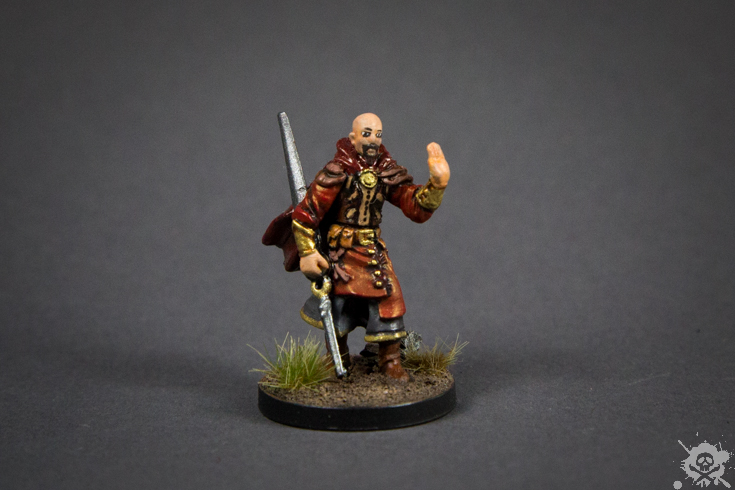
Darksword Miniatures (DSM 7320) – Male Dual Wield Rogue -

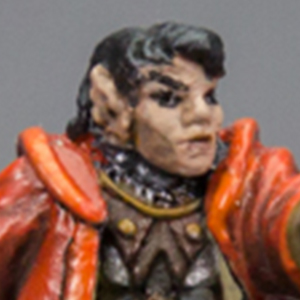
Otiris Firebird (half-elf phoenix sorcerer)
Reaper Miniatures (03449) – Halmar, Young Wizard -

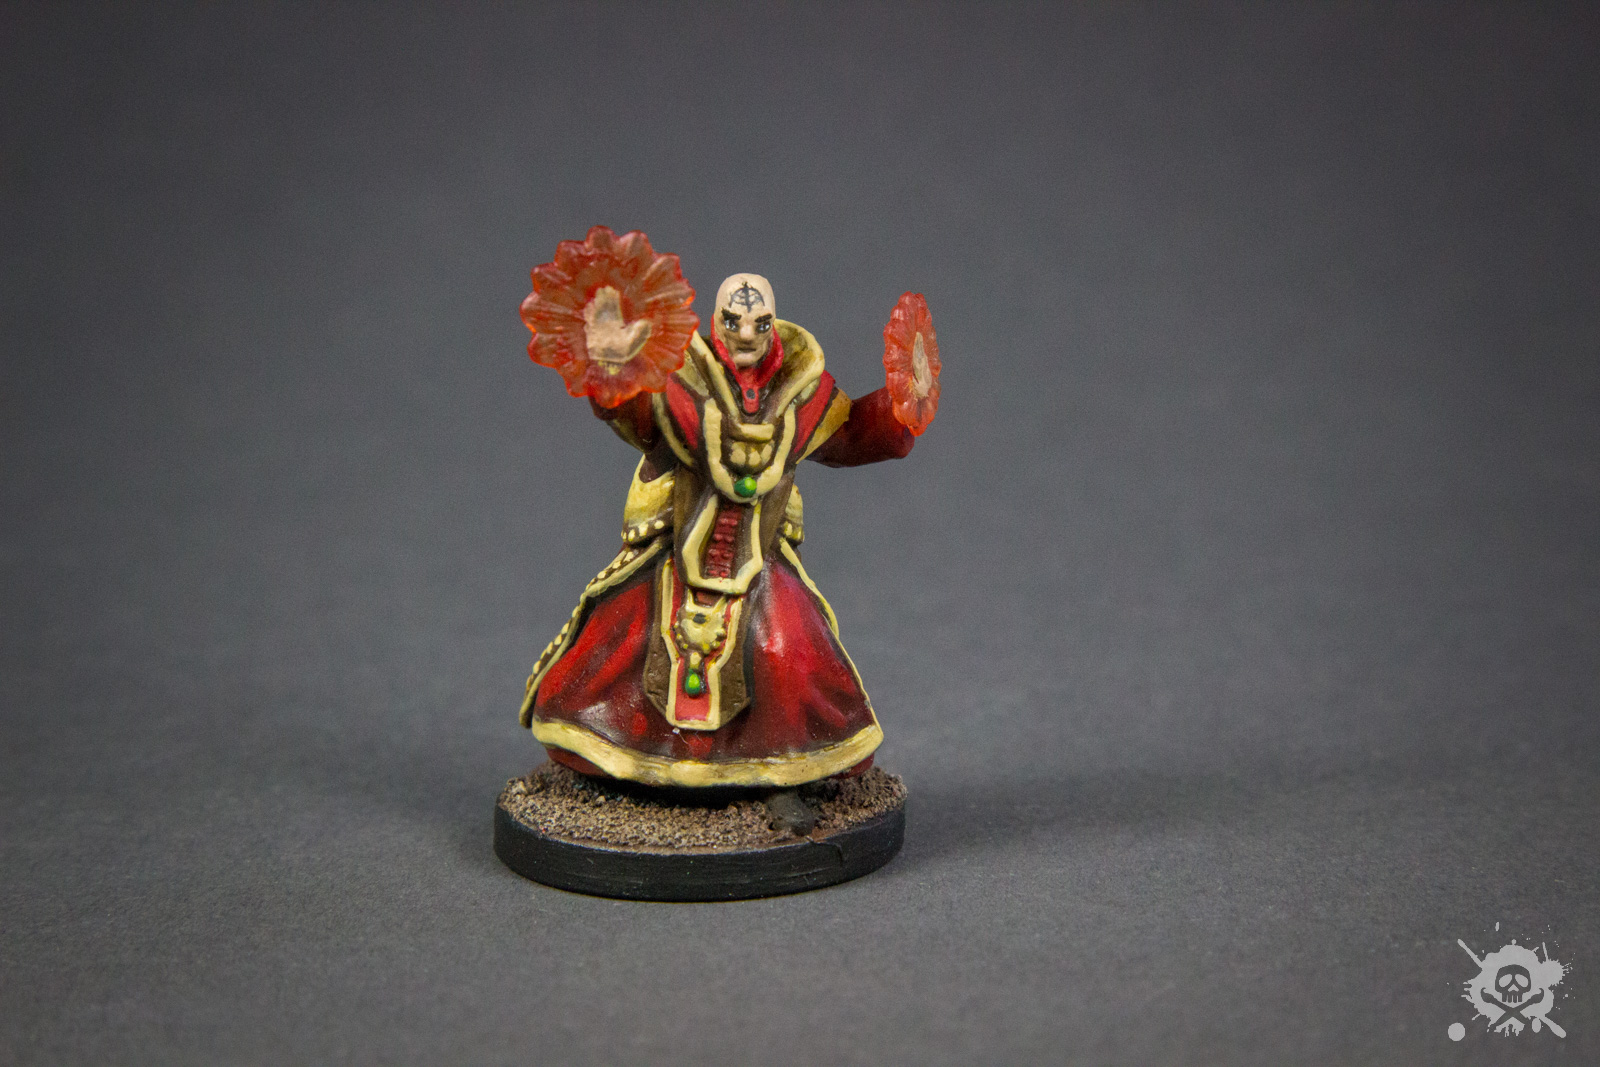
Janikarumshed Hopsward (rock gnome arcana cleric/order of the sages wizard)
Reaper Miniatures (02667) – Halfing Wizard -

Meria (lighfoot halfling monk of the open hand)
WizKids Nolzur’s Marvelous Miniatures (72627) – Halfling Female Rogue -

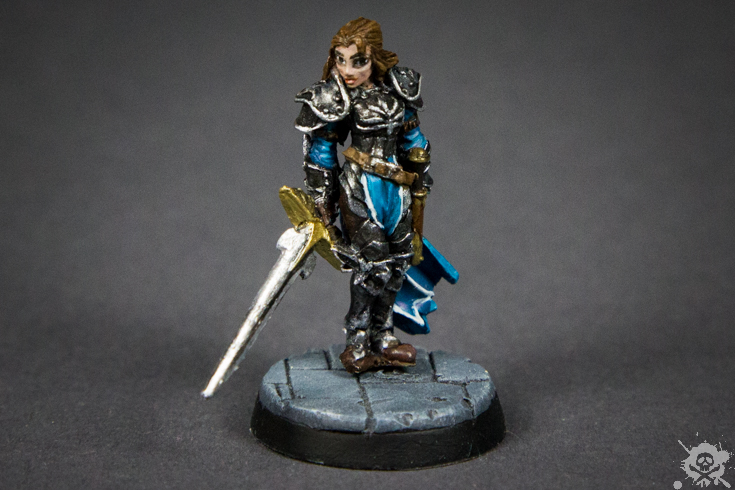
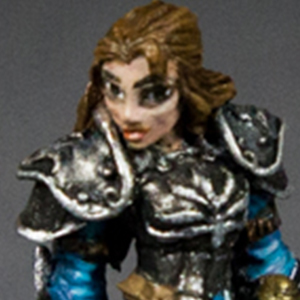
Gwendolyn Stonewarden (hill dwarf stone sorcerer)
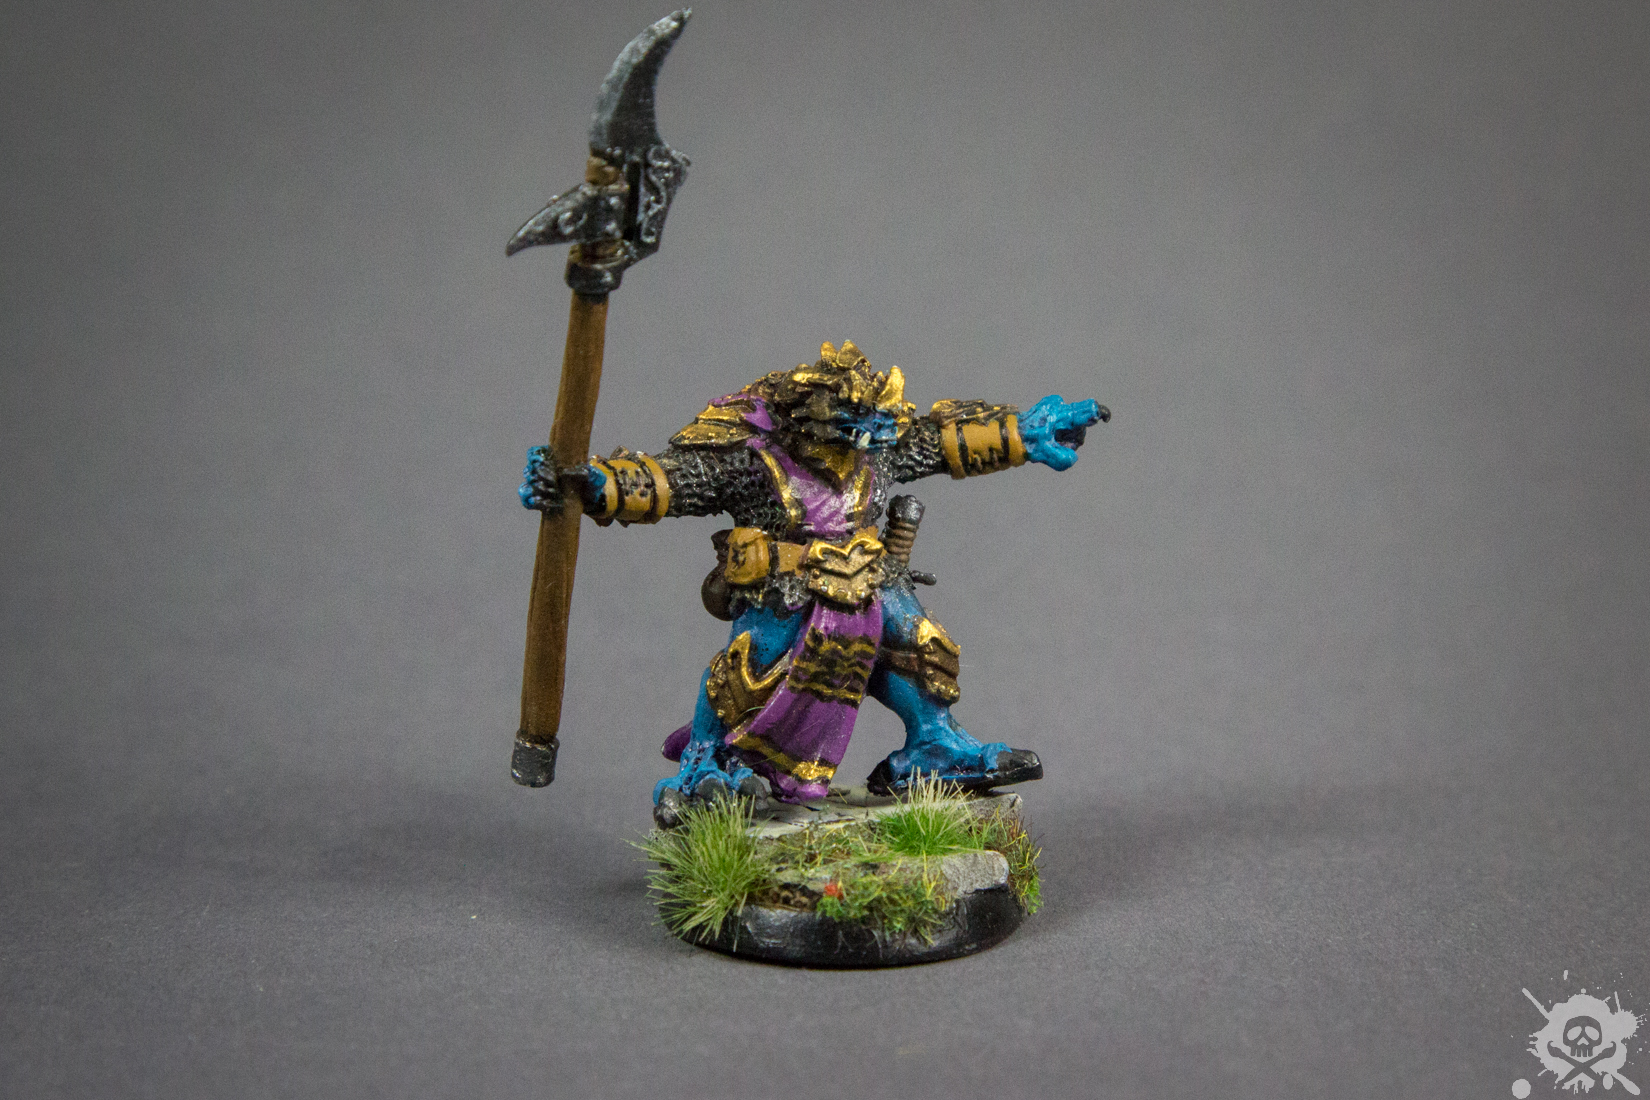
Hasslefree Miniatures (HFD019) – Svala -

Quarion Silverhand (moon elf divine trickster rogue)
Reaper Miniatures (77384) – Arathanel, Elf Ranger
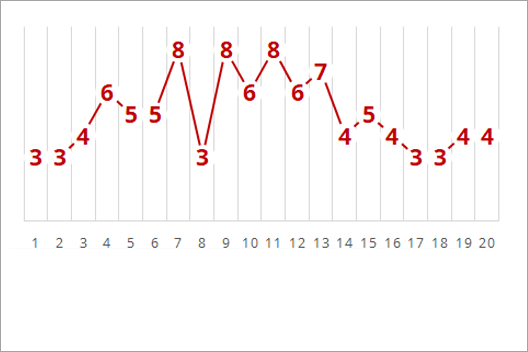
The campaign in numbers
-

session length
4 hrs
-

duration
2.25 yrs
-

# of sessions
75
-

sessions/month
2.7
-

sessions to lvl up
7
-

fastest level up
level 5
-

slowest level up
level 8
-

highest CR (Iymrith)
23
-

magic items found by PCs (non-consumable)
41
The story and the miniatures
Episode 1 - Treasure of the Broken Hoard
(level 3)
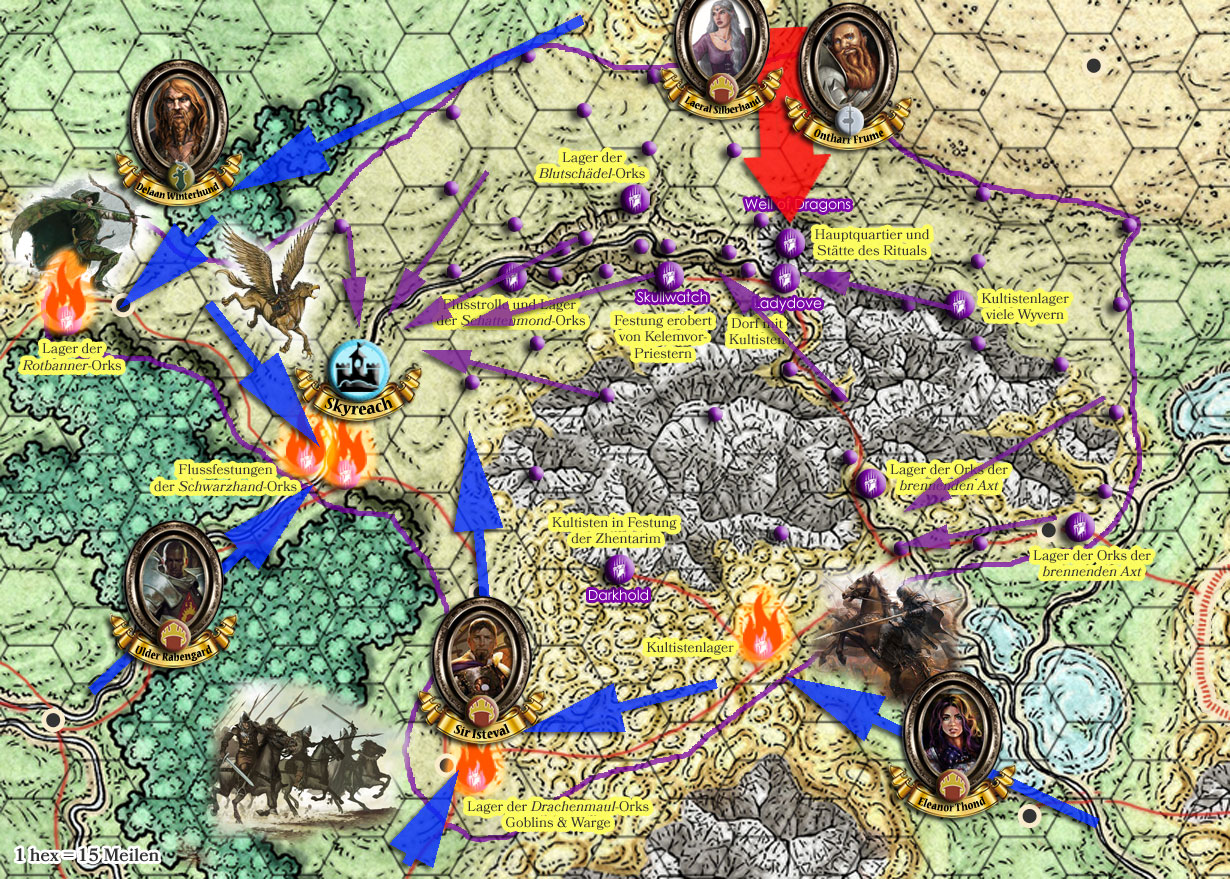
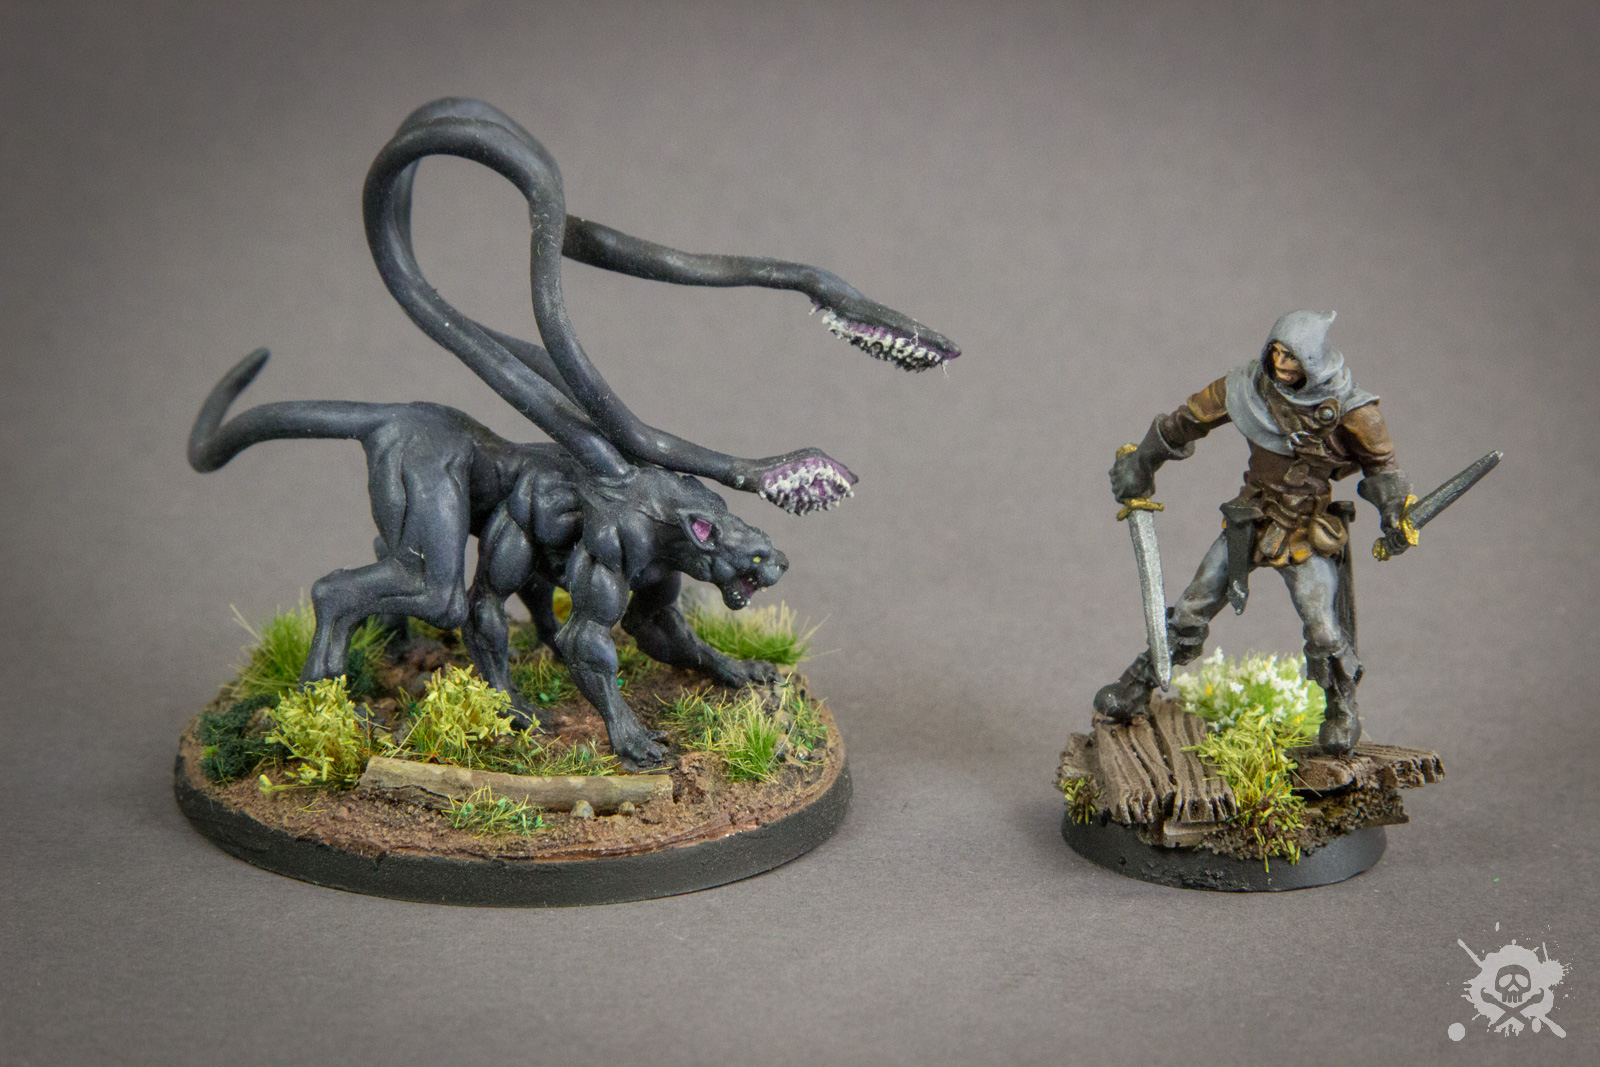
The Tyranny of Dragons ended 2 years ago, but the aftermath was still very much visible. The Cult of the Dragon ransacked many towns on the Sword Coast then, and some of the treasure was never transported to Tiamat’s summoning ritual. So the new group of adventurers was hired for a simple mission from the Lord’s Alliance to get a lost treasure near Daggerford. The stumbled upon a beast in the forest and the hunters became the hunted.
Episode 2 - A Great Upheaval
(level 3-4)
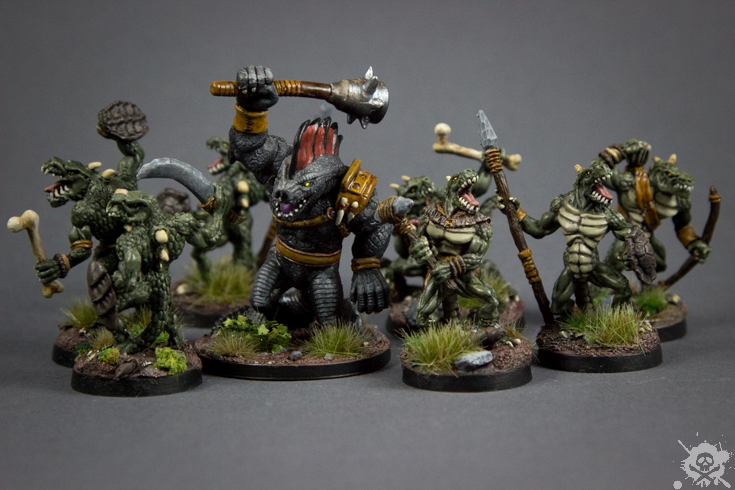
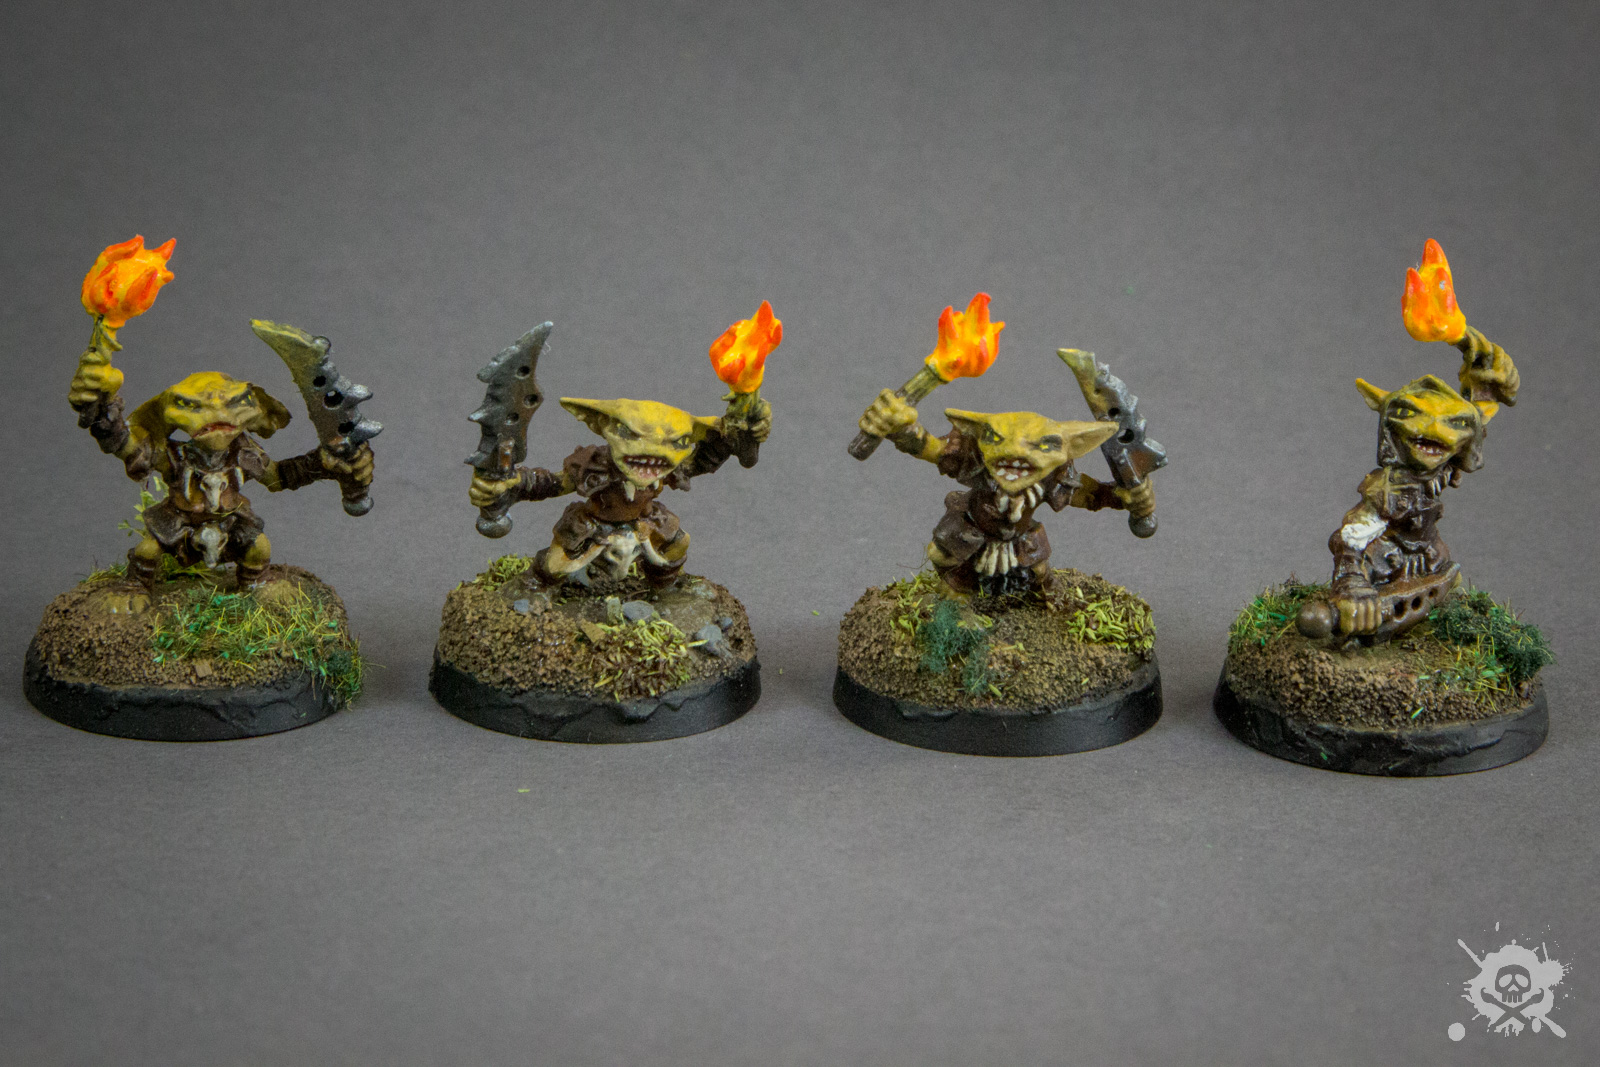
The group was sent to escort a diplomat to the village of Nightstone to settle a dispute between the settlers and the local elves of the Ardeep forest. However, the adventurers found the village in a great upheaval. In the town, the Nightstone was missing, collected by Cloud Giants for some strange purpose. Also, goblins were raiding the town, but they could be repelled. Then, the “the seven snakes” (a band of Zhentarim) arrived, searching for a friend of theirs, Xalla Darkhope. Together with these mercenaries, the adventurers defended the town from orcs. They then followed tracks back to the goblins’ lair to rescue villagers.
Episode 3 - Trouble in Triboar
(level 4-5)
The adventurers met a friendly Cloud Giant wizard, Zephyros. He explained that all over the continent, the Giant factions were in upheaval and clashing with the small folk. He brought the adventurers to the small town of Triboar where they helped the villagers with various small problems. Ultimately, Triboar was attacked by a pair of Fire Giants in search of an artifact that was buried somewhere in the town. They brought orogs and magmins – the town banded together with the heroes, and they managed to scare the Giants off.
Episode 4 - A Grand Gamble
(level 5)
The adventurers decided to travel to Yartar, a larger town in the vicinity. On the road, they met a sick nobleman, whom they escorted back to Yartar. He turned out to be infected by an aboleth. They followed up leads on a gambling barge and defeated the aboleth and its helpers in the sewers.

Episode 5 - Travelling the Evermoor Way
(level 6)
After leaving Yartar, the adventurers had a full quest log and people they wanted to talk with. They travelled to Noanor’s Hold and defeated a shadow demon, they travelled to Silverymoon to rob an evil nobleman, and they travelled to Everlund, to meet with the Harpers at Moongleam Tower. On their way, the inn they were staying at was ambushed by a couple of trolls.

Episode 6 - The Search for Harshnagg
(level 6)
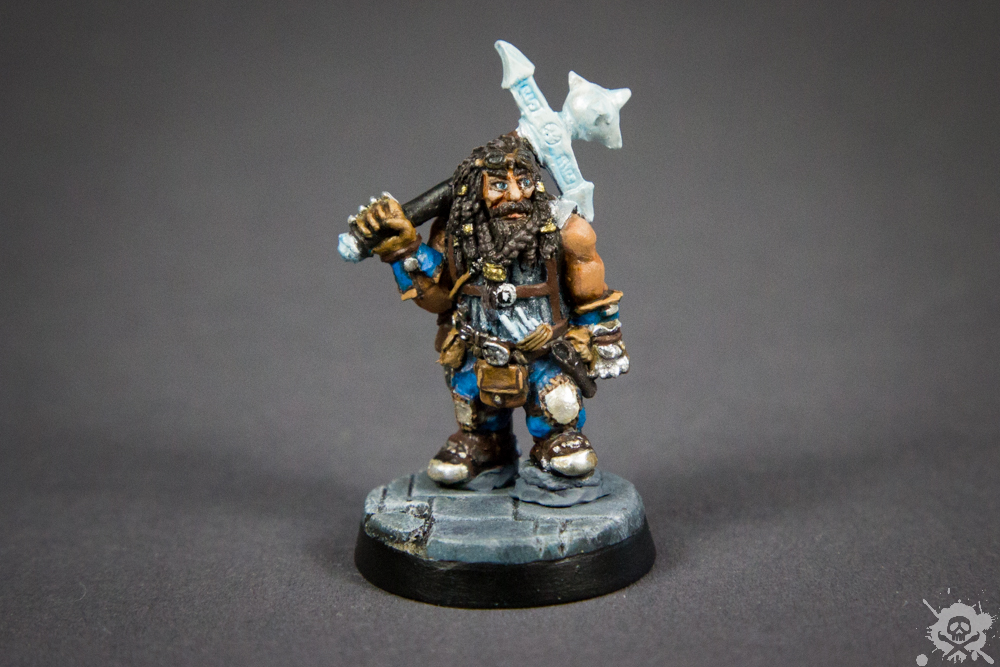
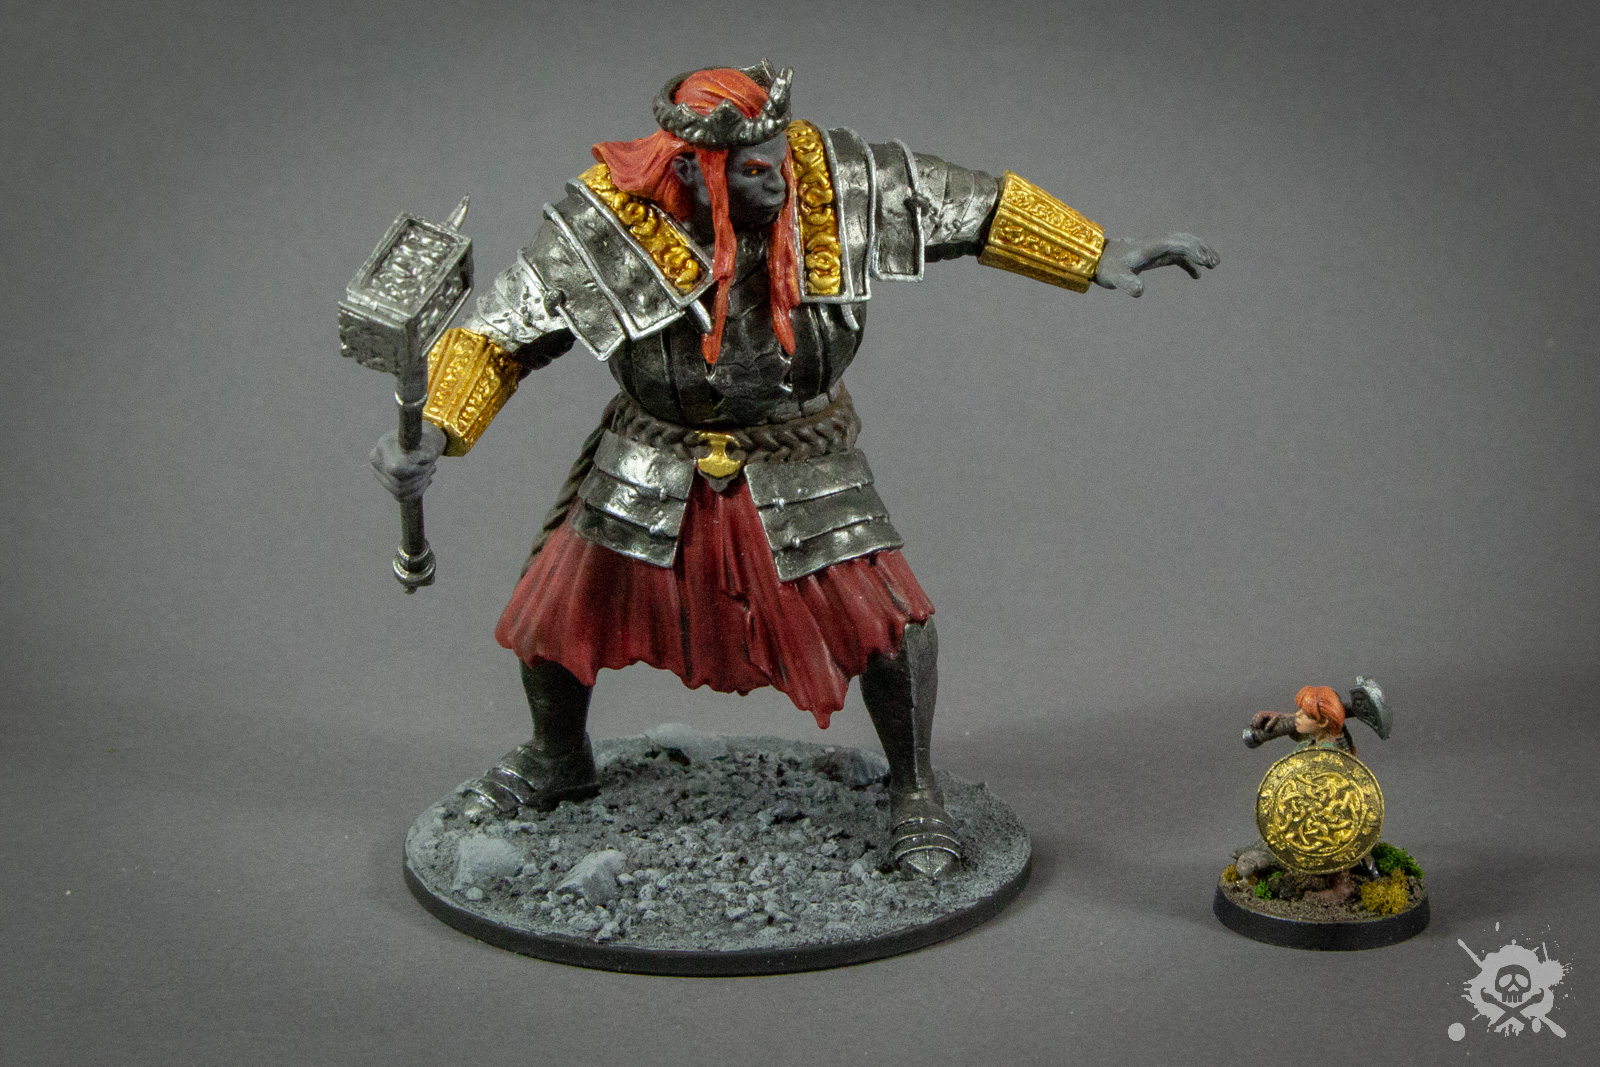
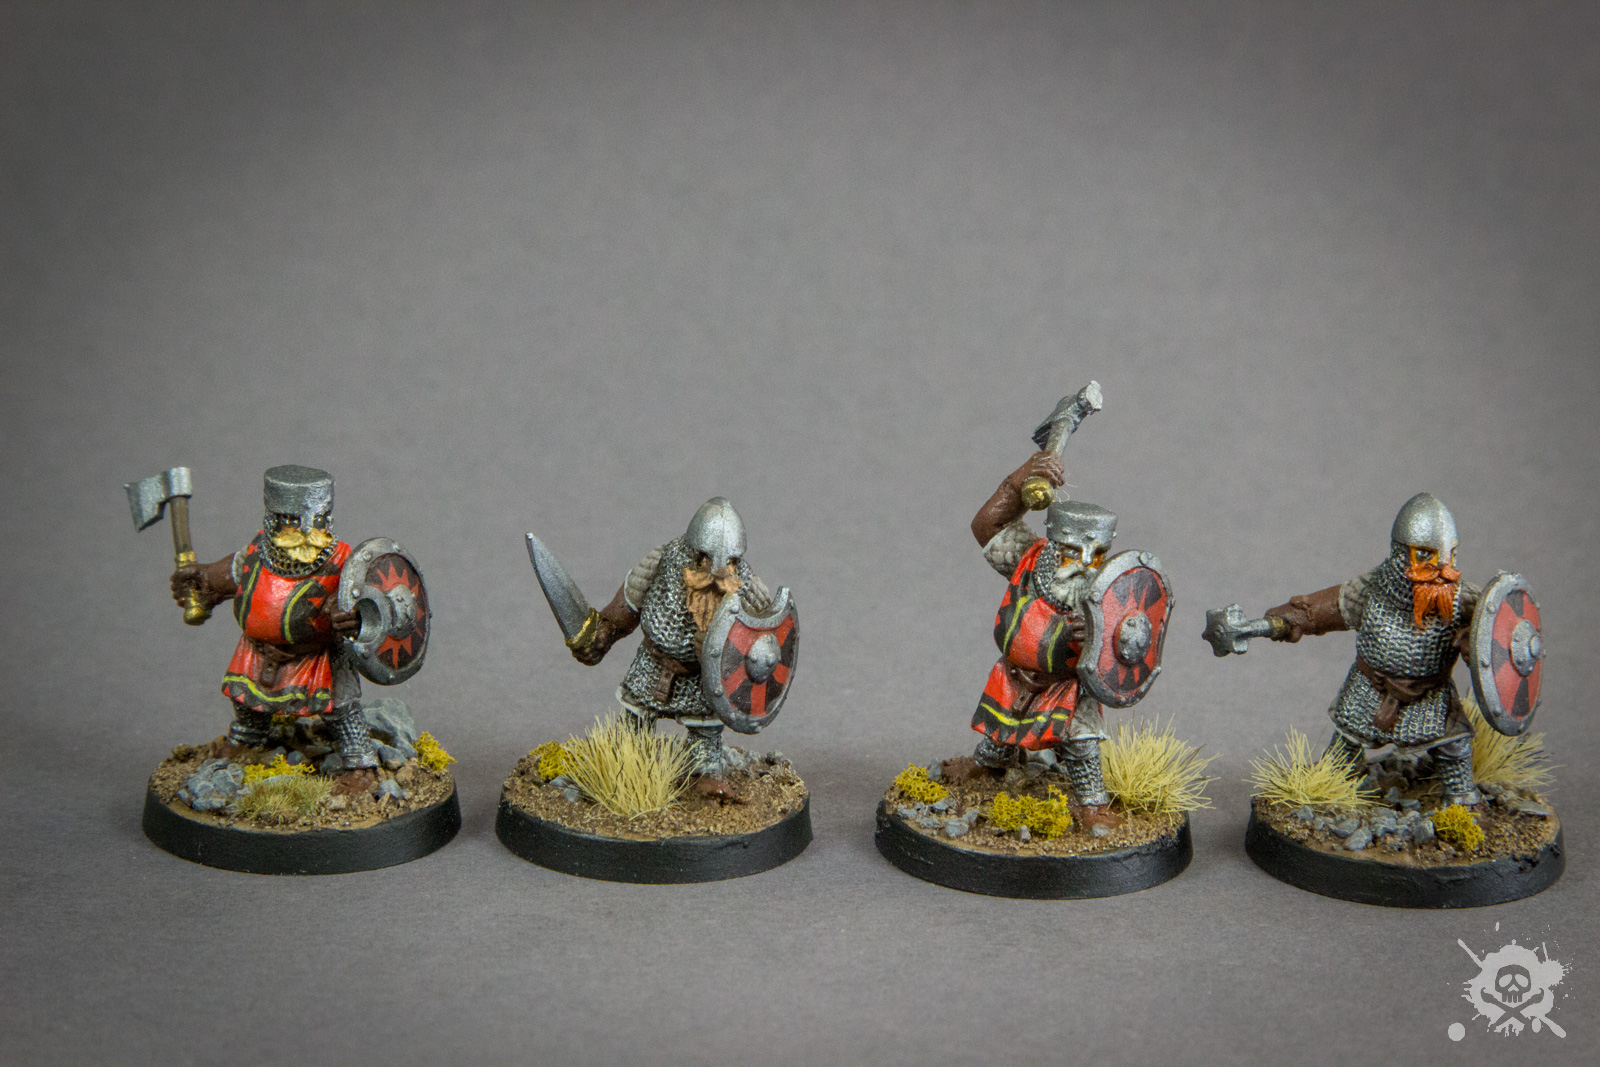
In Everlund, the adventurers gained the trust of the Hapers, and also gained access to their teleporation circle network. The group continued and went to Citadell Felbarr, the home of Gwen. They were looking for a famous old Frost Giant, who worked for Waterdeep’s Blackstaff in Force Grey a couple of decades ago. The group found Harshnagg in the cold North while following clues left behind by the Fire Giants. Duke Zalto, leader of a local group of Fire Giants based in a fortress even further in the North, is looking for parts of a magical construct that he wants to use to propel his kin to the top of the Ordning of the Giants. Darrak Ironfist, a tough dwarven veteran warrior joined their quest to infiltrate Zalto’s stronghold.
Episode 7 - The Forge of the Fire Giants
(level 7)
After reaching the fortress Ironslag, the adventurers fought their way through a Yakfolk village built at the entrance and tried to sneak into the fortress. When they realized that they might be in over their heads, their dwarven companion Darrak revealed him being a Dao, an earth elemental genie. He helped Gwen – a stone magic sorceress – to enhance her innate stone magic to guide her to the magic golem the dwarves were looking for. Meanwhile, the adventurers observed a group of drow meeting Duke Zalto. They gave him an iron flask containing a fire primordial, stolen from the forges of the dwarven hold of Gauntlgrym. Chaos ensued, when Gwen stopped Zalto from using the primordial to fuel his forge and complete the Vonindod construct by releasing the fire elemental from the flask. The heroes fled through the mines, leaving the fortress to fire and ashes.
Episode 8 - An Ancient Betrayal
(level 8)
Back in Citadel Felbarr, the adventurers realized that the dwarven noble who was responsible for sending the Dao with them to find an ancient golem wanted them to erase evidence of his dwarven house working with the Fire Giants in the past. After unraveling this intrigue, the old dwarf fled into a secret underdark vault, where they had to fight him and the Dao.
Episode 9 - The Eye of the All-Father
(level 8)
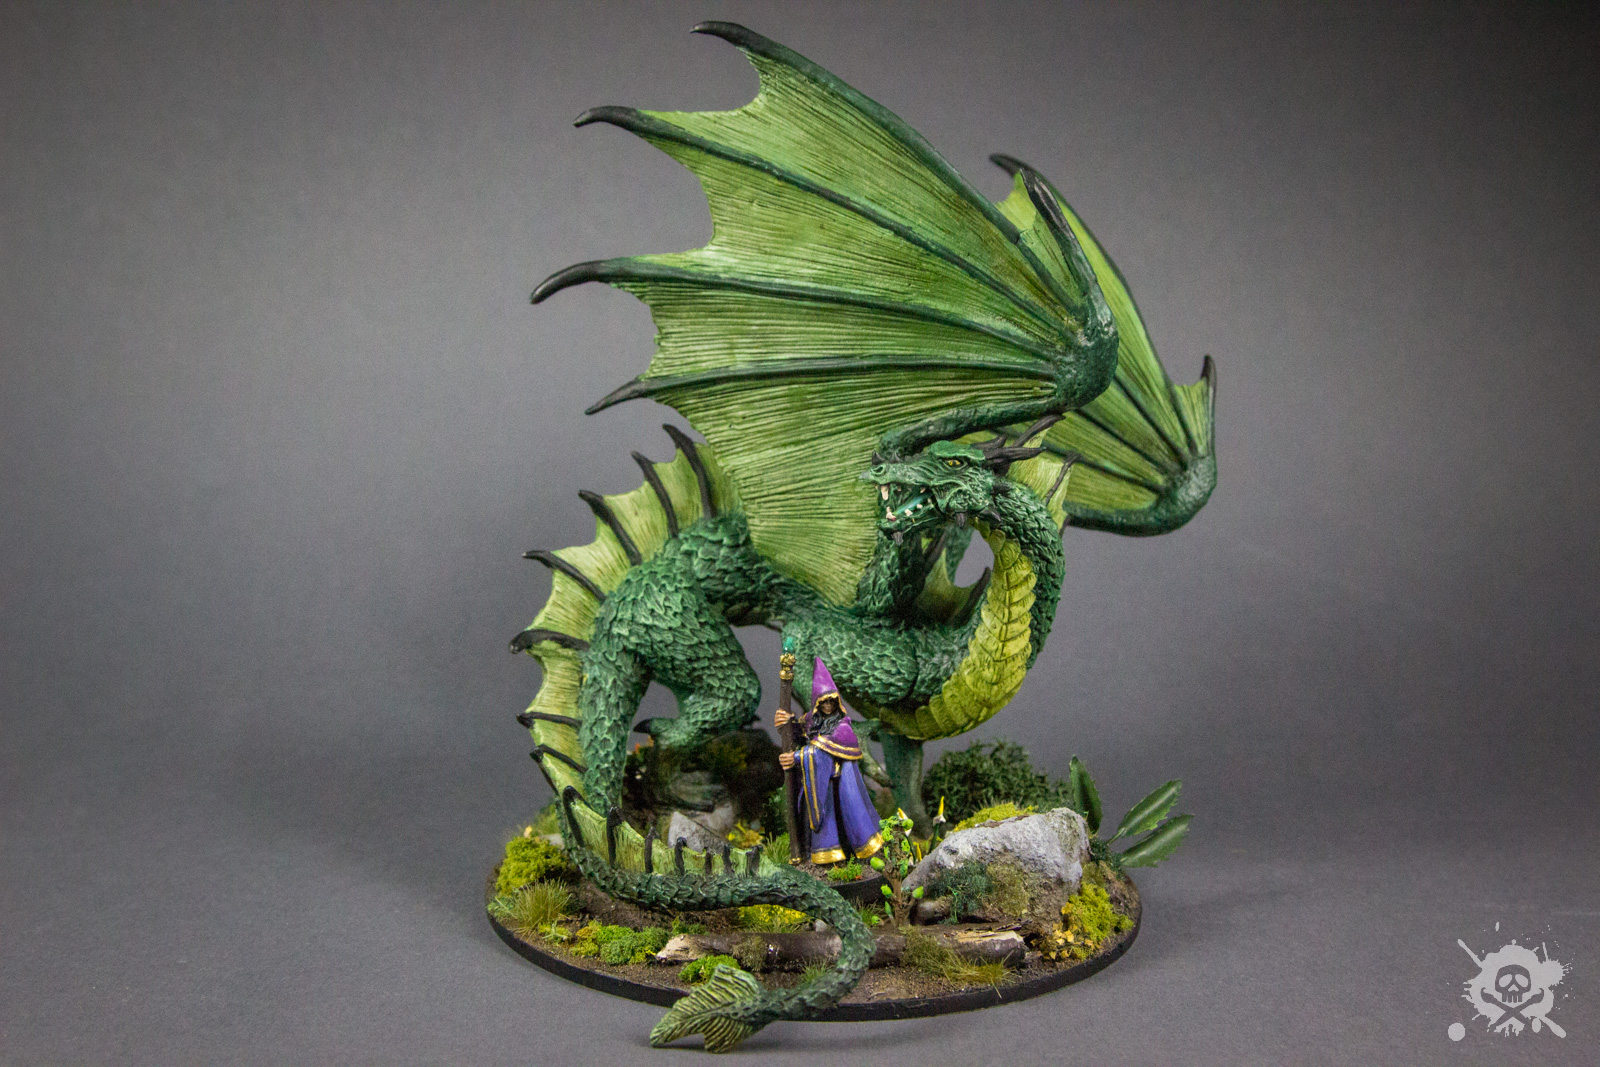
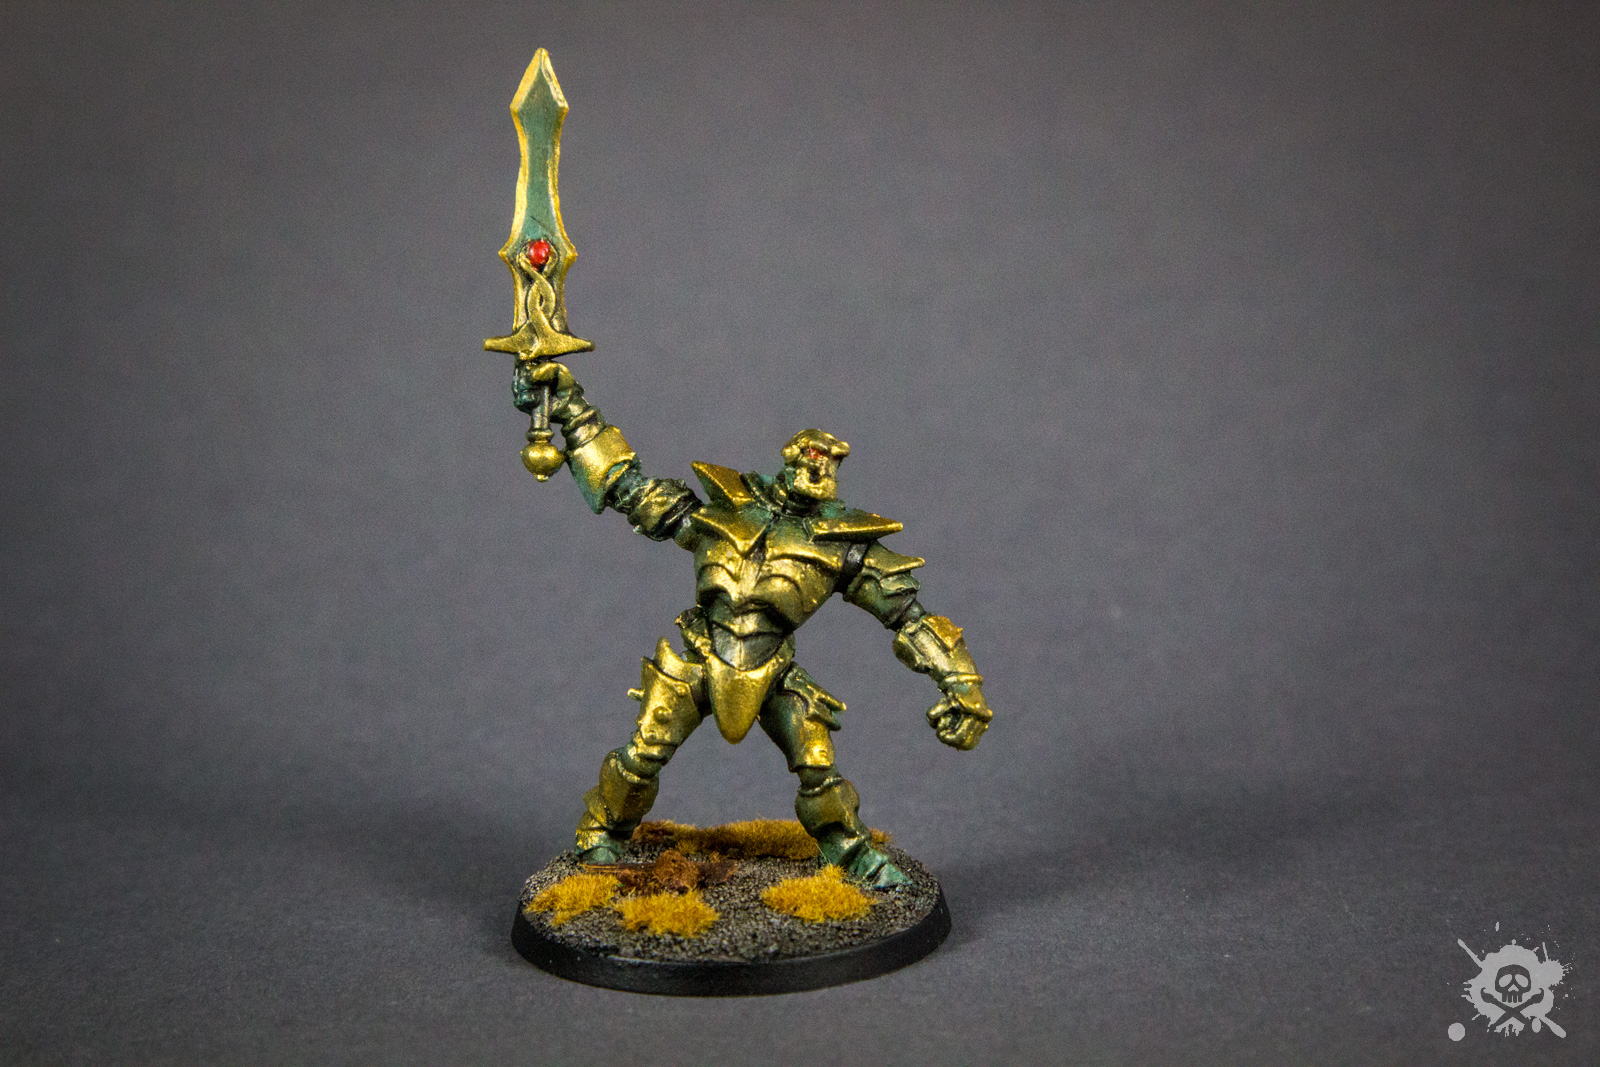
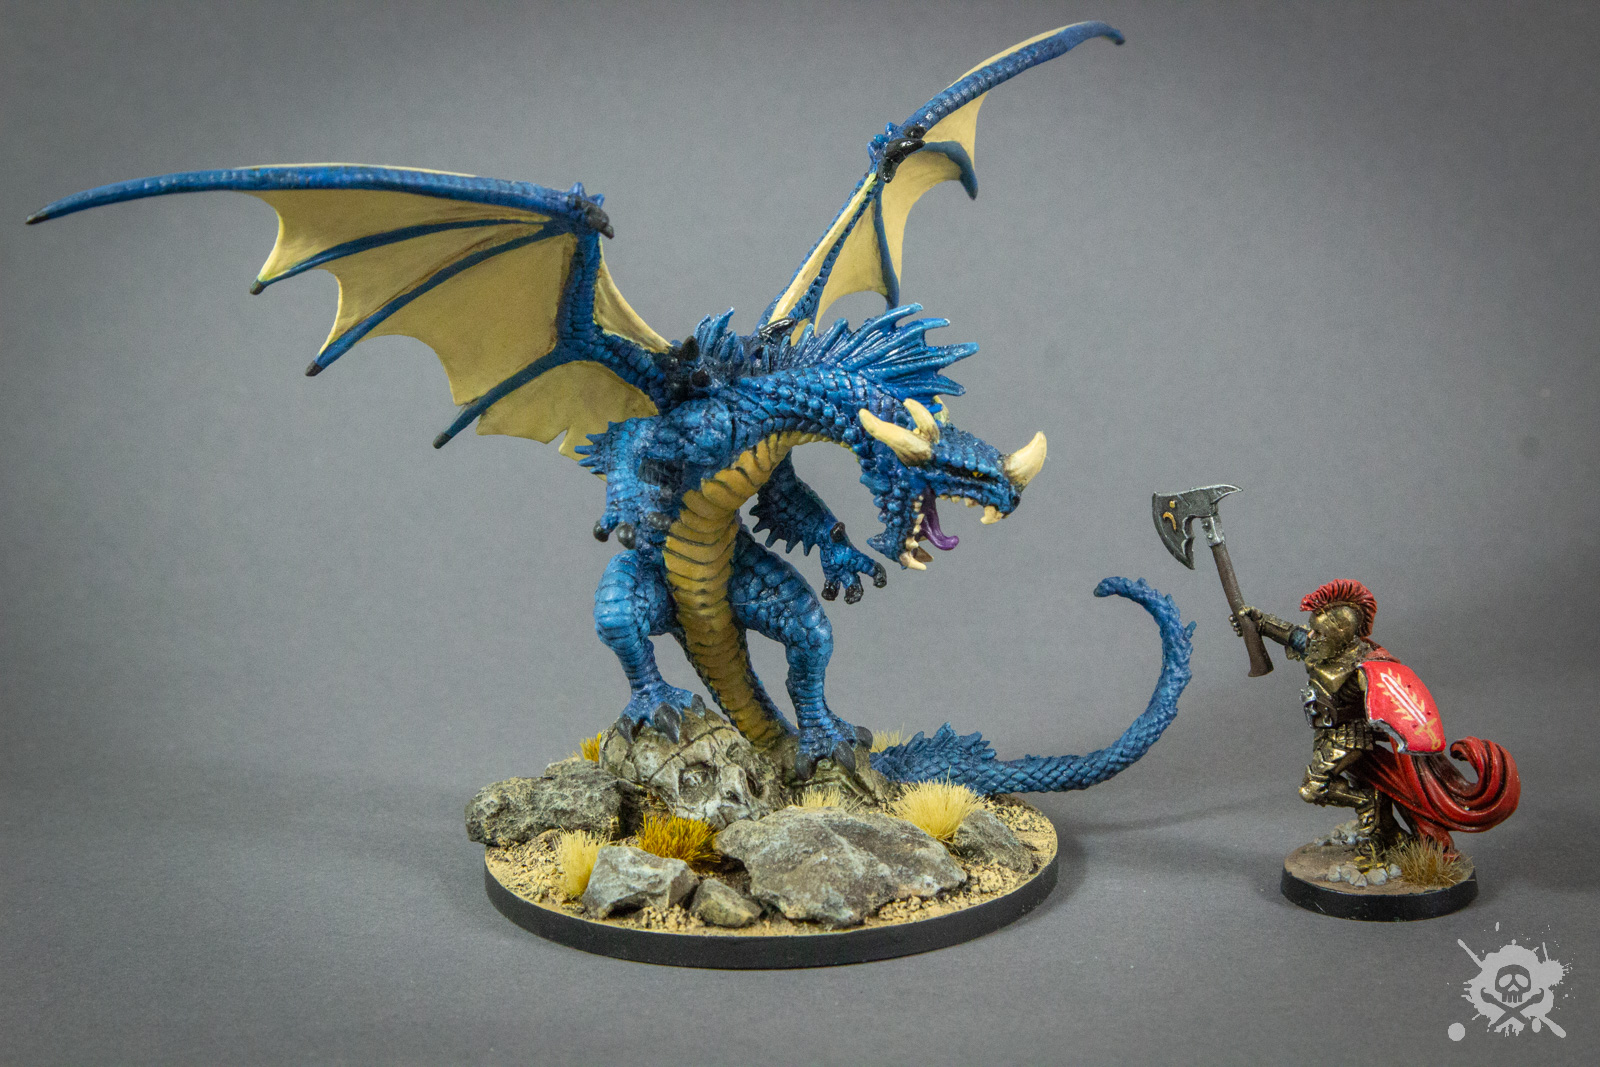
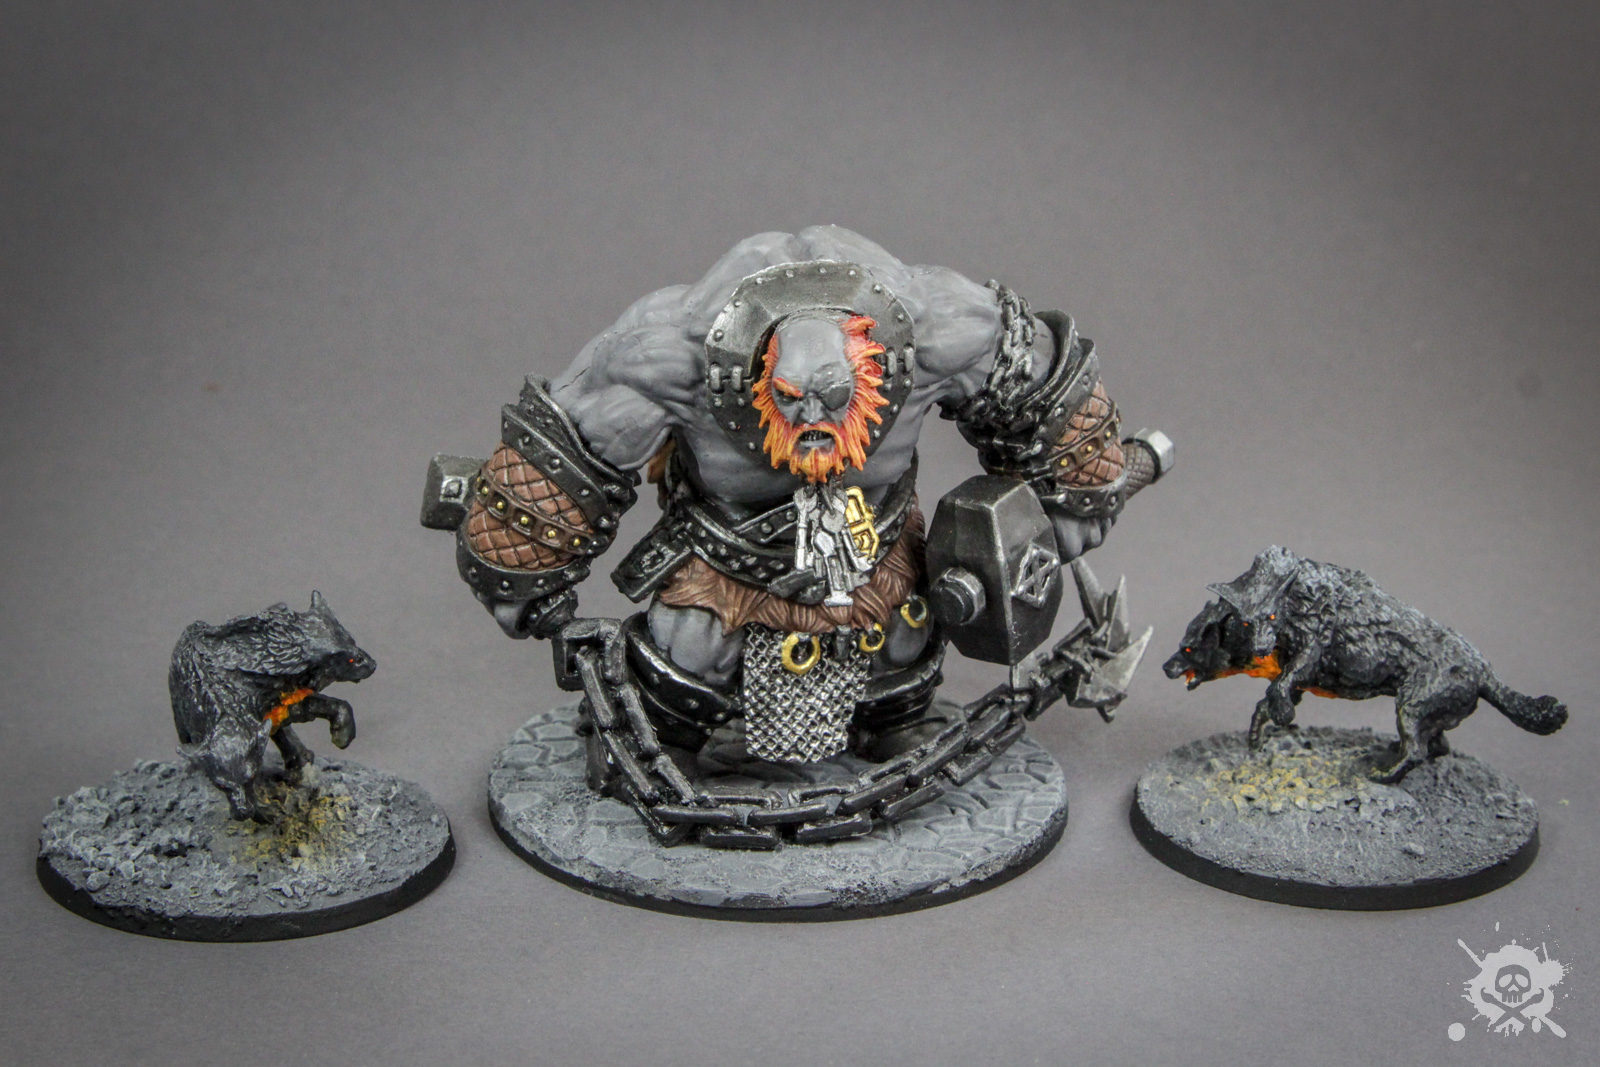
After helping Harshnagg with the Fire Giants, the old Frost Giant kept his promise and led the adventurers to the Eye of the All-Father, an ancient Giant oracle high up in the Spine of the World. On their way, the group had to deal with barbarians, with a tribe of goblins of the mountains. In the holy site, the adventurers spoke to the oracle that revealed the fall of the Ordning to them, and that a dragon is behind some of the chaos. The king of the Storm Giants is missing, and his wife is dead. Other Giant lords are planning to usurp the throne by proving their worth to the Allfather through great deeds. However, these deeds would be catastrophic for the small folk. The heroes should seek out Maelstrom, the Giant’s royal court. The need to find a magic conch to go there. Only the high Giant lords possess such a conch to follow summons by the Storm King. When leaving the oracle, the group was surprised by an ancient blue dragon. Harshnagg sacrificed himself to help the heroes’ escape.
Episode 10 - Iceberg Ahead
(level 8)
Mirabar, hometown of Otiris was under siege from Frost Giants. The group of adventurers spilt up: Otiros, Baltor and Gwen rushed there to help, but the Frost Giants were already gone, taking a dozen prisoners – including Otiros’ mother! So the group decided to take the fight to the swimming fortress of Svardborg, where the Frost Giant Jarl Storvald seeks to bring everlasting winter to the world by finding someone named Artus Cimber. The Jarl would also have the conch the heroes needed to go to Maelstrom. Together with another group of adventurers, the party reached Svardborg by riding griffins through the Sea of Moving Ice. They infiltrated the base and freed the white dragon Isendraug and their eggs from the Frost Giants. Also, they freed the prisoners! They also got the magic conch, but it broke during a fight in the treasury. Then, Jarl arrived with his longship. Isendraug joined forces with the adventurers and attacked the longship. Her mate was chained on the deck of the ship. Seeing her freed from the Frost Giants, the Jarl had to fight two angry white dragons, while the heroes could escape.
Episode 11 - The Halls of Hotun-Shûl
(level 8-9)
The rest of the adventurers – Quarion, Meria, and Jannik did what the oracle told them to do: They wanted to find three master runes – ancienct giant rune magic – so that they would not be used against the small folk by the remaining Giant Lords. They travelled to an ancient Stone Giant library at the Halls of Hotun-Shûl. The heroes teamed up with a noble explorer half-elf from Waterdeep, Laris Amcathra, and gained insights into the strange rune magic of the giants and their prophecies. They found that the Frost Giant Jarl Ryndölg was already trying to break into the old repository to get the Liv rune, with which he sought to live forever.

Episode 12 -Chasing the Weevil
(level 9)
For a long time, the adventurers wanted to take on the bounty of the Weevil, an evil bandit roaming the countryside. They finally tracked his location down through the help of the local authorities of Grunwald near the Lurkwood. The party went to an old tower where the bandit was hiding and killed him.
Episode 13 - Magic in the Sky
(level 9)
Finally, the adventurers decided to pay the Cloud Giant Countess Sansuri a visit to try to get another magic conch. They have crossed paths before, but it was time to visit her in the Sky Castle of Lyn Armaal. With the help of their Cloud Giant ally Zephyros, the group reached the castle in the sky. The Countess was not planing on making deals with the small folk, so diplomacy failed and resulted – once more – in abrupt chaos. Cloud Giants were very capable, and the heroes had to flee, once they got the – now functional – magic conch.
Episode 14 - The Champion of Frost
(level 9-10)
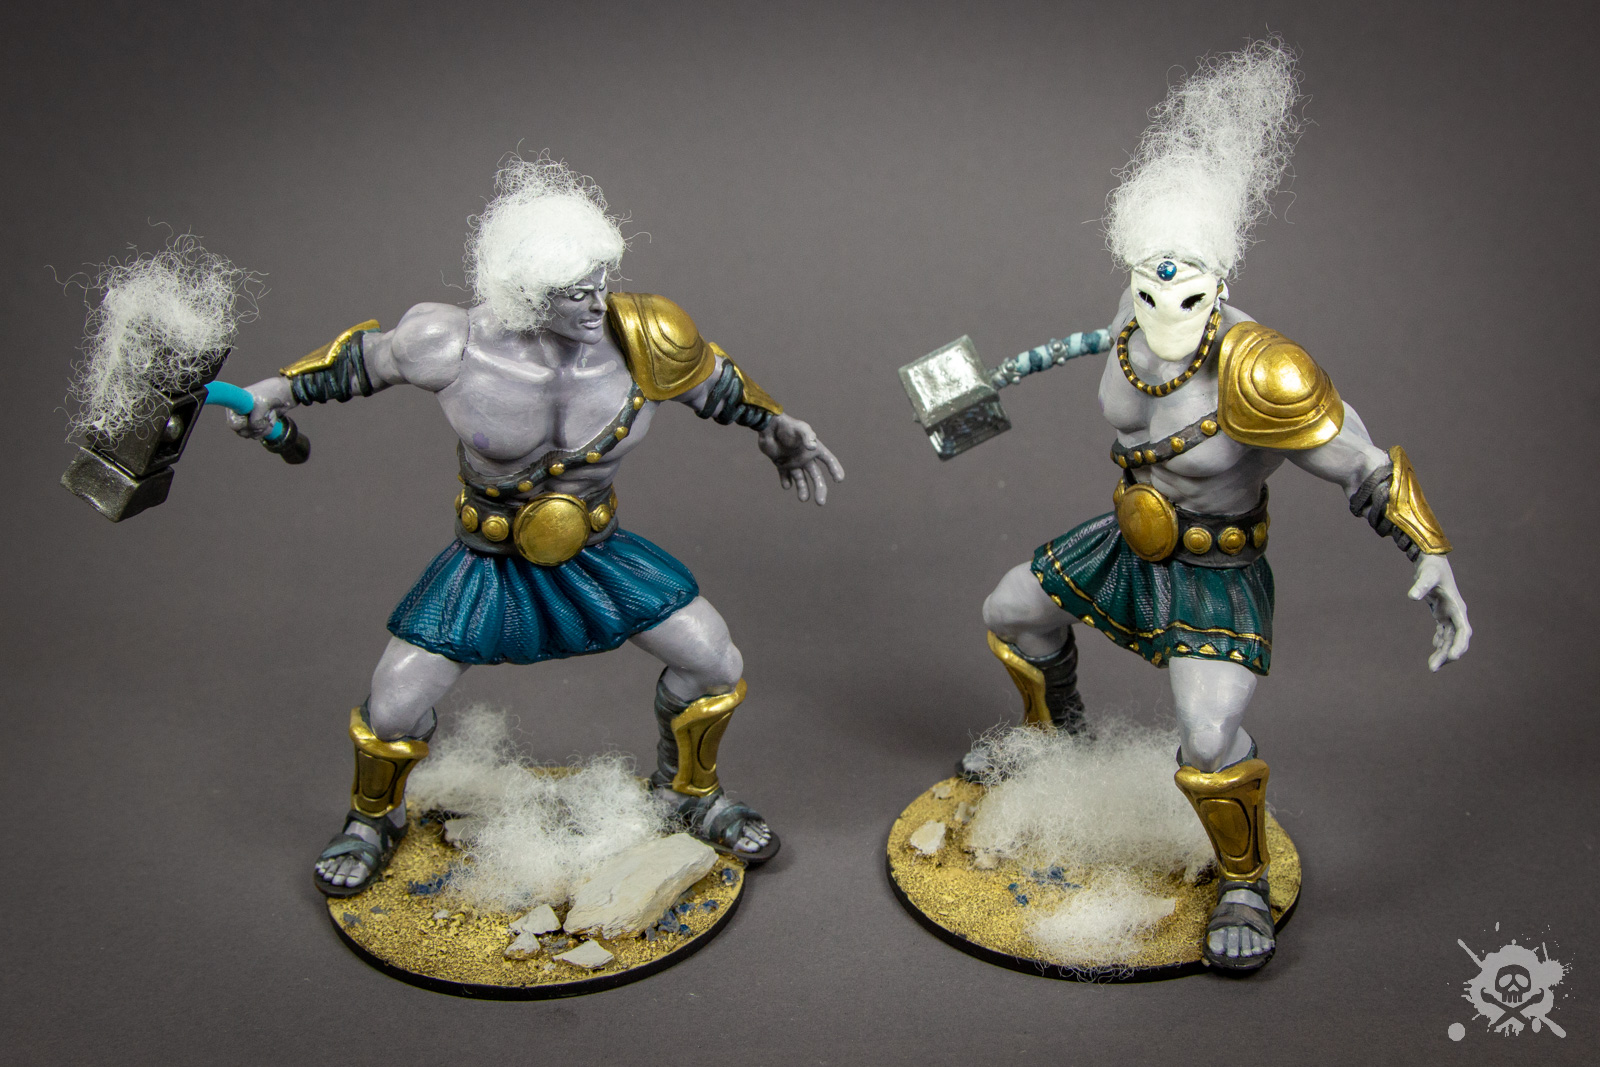
The adventurers heard of a great summoning call of the Frost Giants in Hartsvale in the Ice Spire Mountains. Another Frost Giant lord, Ryndölg, was trying to amass an army to conquer the North. Using their knowledge of the prophecies gained in Hotun-Shûl, the heroes were tasked to help to dissuade the Jarl from attacking the vale. Ryndölg issued a challange to a duel for claim of the vale to the elderly king. There may be a true, last son of Amnan the All-Father that was sympathetic to the humas when they last spoke with him hundreds of years ago. The adventurers followed the clues to find Hartkiller, resurrected by the summoning call and true lord of the vale. The group helped him to gain strength and ensured that the duel could be held fairly. Hartkiller won, and Ryndölg was defeated. The horde was turned back, and Hartkiller pledged to work with the humans to slowly rebuild the glory of Ostoria, the ancient giant kingdom.
Episode 15 - Underwater Diplomacy
(level 10)
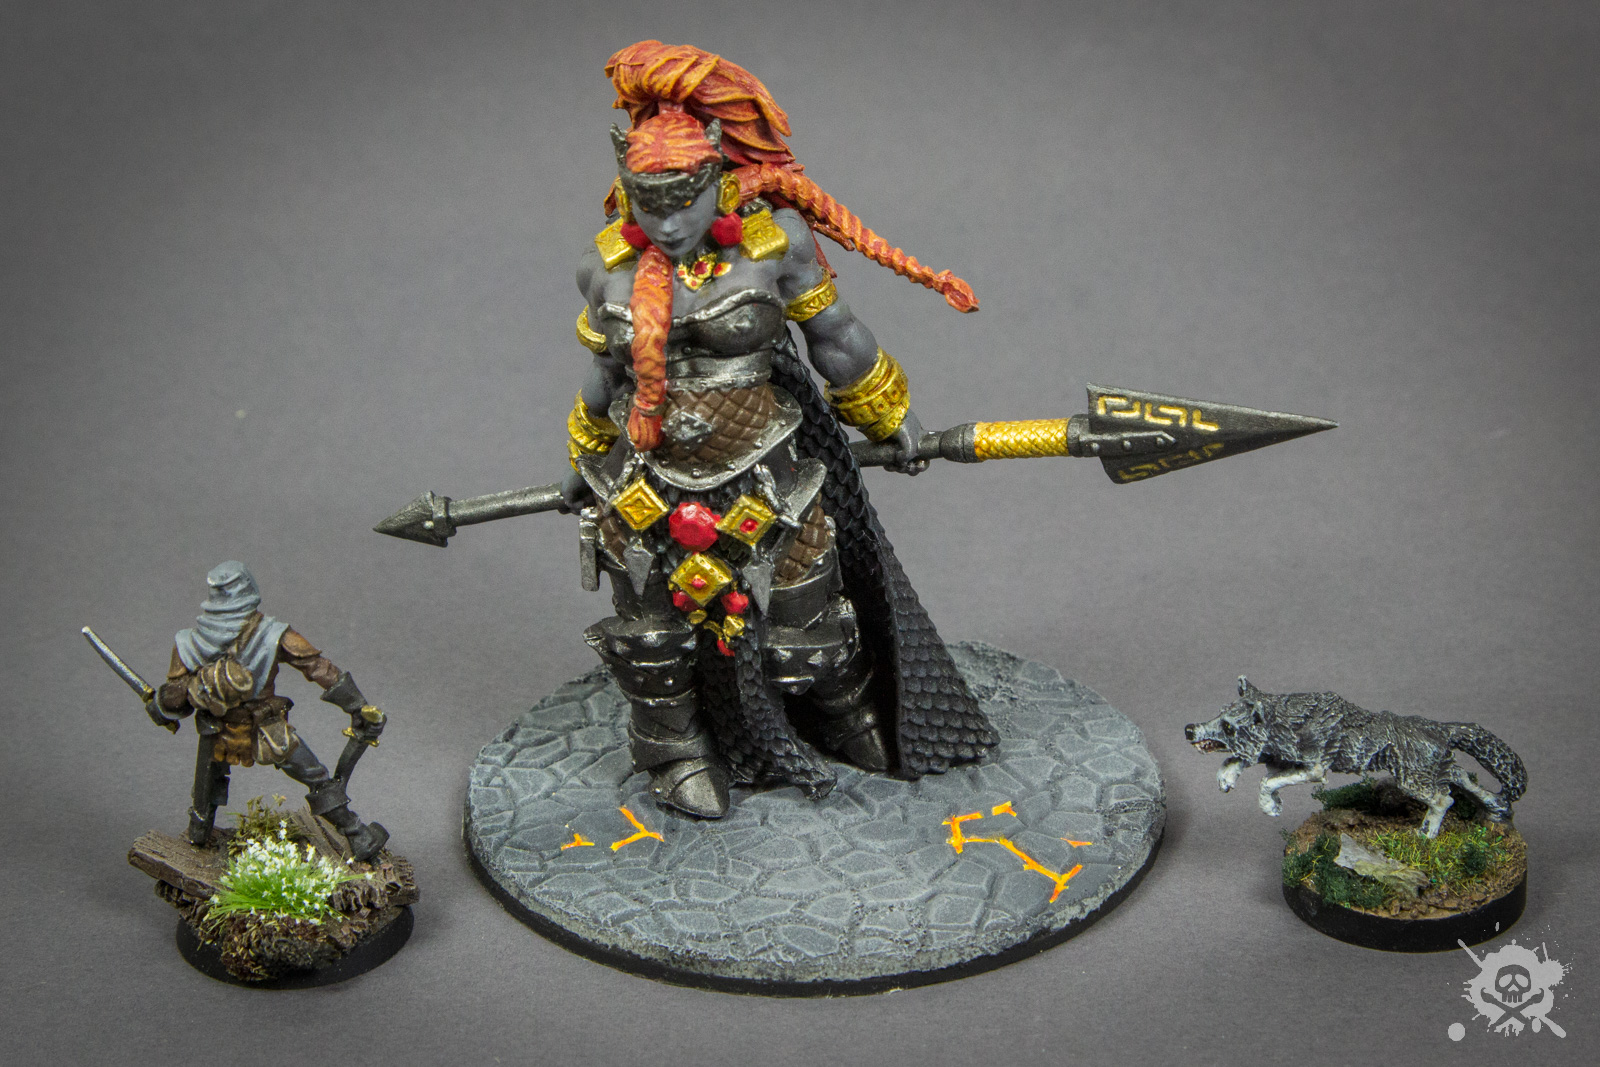
With a magic conch in hand, the adventurers teleported to the Storm Giant citadel of Maelstrom. They had to tread lightly here, because the giants do not like small folk, especially adventurers coming invited. They had to persuade a group of Giant Lords to arrange for an audience with the missing Storm King’s youngest daughter, Serissa – who currently holds the throne in her father’s absence. But her older sisters Nym and Mirran, ever envious, did not want the small folk to whisper in their sister’s ear. The adventurers knew the older sisters were complicit in the assassination of their mother and the abduction of their father to secure the throne for themselves. Finally, the Storm Giant called Iymrith – a powerful sorceress serving as some kind of surrogate mother for the three sisters – was revealed to be an ancient blue dragon, and the one pulling all the strings. It was the same dragon that ambushed the heroes at The Eye of the All-Father, killing Harshnagg! Iymrith put Serissa in stasis on the Wyrmskull Throne, and fled the scene with the Storm King’s magical scepter.
Episode 16 - Wild Goose Chase
(level 10)
In search of Iymrith, the adventurers followed a lead Serissa had told them: The assassins of the Queen droped a strange coin depicting a Golden Goose. The heroes had seen such a coin a couple of months ago in Yartar. It was a chip used on the gambling barge. The party infiltrated the riverboat, and confronted the owner, Lord Drylund. Before he could be persuaded to talk, he was killed by some psychic power. It was not another aboleth, but something far more dangerous – a kraken working with the ancient blue dragon was behind the assassination.
Episode 17 - Shadow of Purple Rocks
(level 10)
The heroes knew the assassins came from the Purple Rocks, a small patch of islands in the Trackless Sea. After a few rough days at sea, dealing with storms, the adventurers found the Purple Rocks to be a horrible place full of strange people, most of them worshipers of Umberlee, the evil goddess of the sea. It took them a few days to unravel the mysteries of the place and avoiding mutants and evil priests working for the ancient kraken Slarkrethel. Finally, they found the prison of the Storm Giant King Hekaton, an underwater Umberlee temple in Ascarle and succeeded in freeing him.
Episdoe 18 - White Plume Mountain
(level 11)
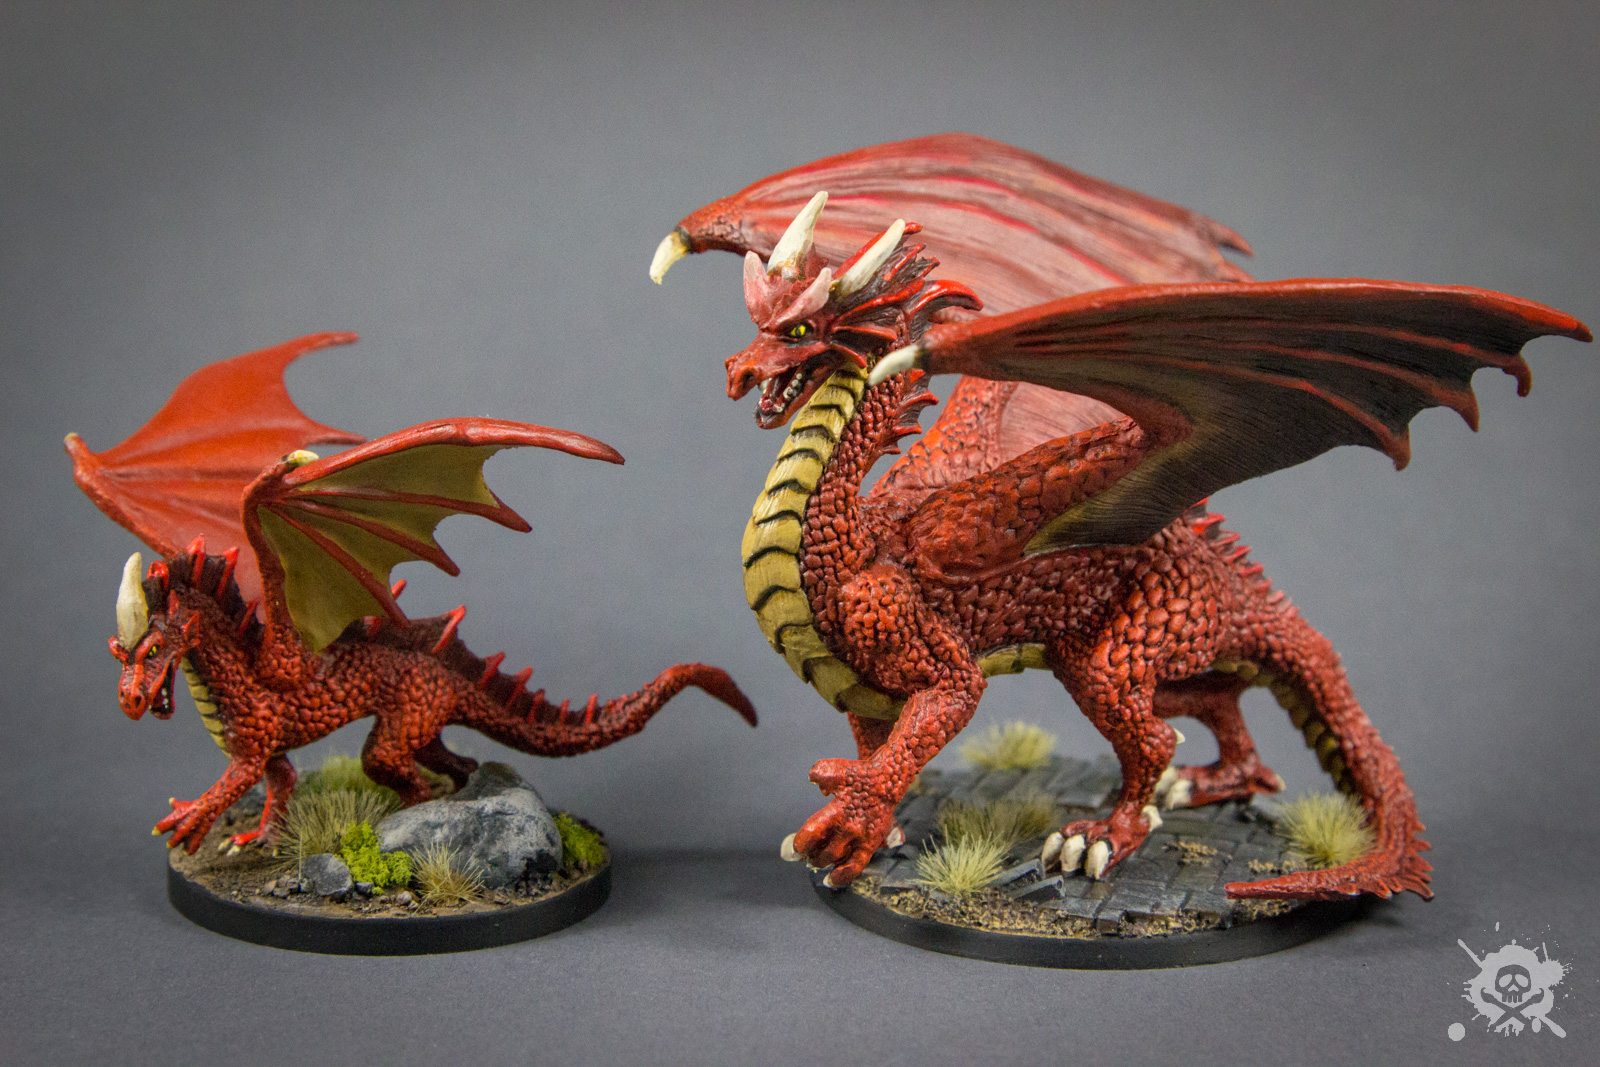
The group returned to Maelstrom with the weakened Storm Giant King. The storm giants were thankful and honored the adventurers. In the meantime, Queen Neri has been resurrected, but Princess Serissa was still in stasis. Going through all their options – as the Stone Giants, the Cloud Giants, and even Duke Zalto were still going after a higher rank in the Ordning with their catastrophic schemes in the North – and decided to follow up to seek out the White Plume Mountain. There, a legendary spear of the Cloud Giants was waiting to be reclaimed. It was a difficult dungeon, and the adventurers had to flee after the “owner” arrived – the legendary dragon Klauth claimed this domain!
Episode 19 - The Ark of the Mountains
(level 12)
After returning from White Plume Mountain with the legendary weapons Whelm, Wave, and Blackrazor, their Cloud Giant ally Zephyros informs the adventurers, that Countess Sansuri and Duke Zalto work together now and refuse the call to peace from Storm King Hekaton. They now seek an ancienct Spelljammer battleship built by old Delzoun dwarves of eons past. Together with knights from the Lord’s Alliance, Haper mages, dwarves from Citadel Felbarr, two Storm Giants sent by Hekaton and Force Grey elite troops from Waterdeep’s Blackstaff Vajra Safahr, the group travels to recover the Ark of the Mountains, before their adversaries do. Ultimately, Zalto is killed and Sansuri is put in chains by Storm Giants. The threat of the giants is over.
Episode 20 - Doom of the Desert
(level 13)
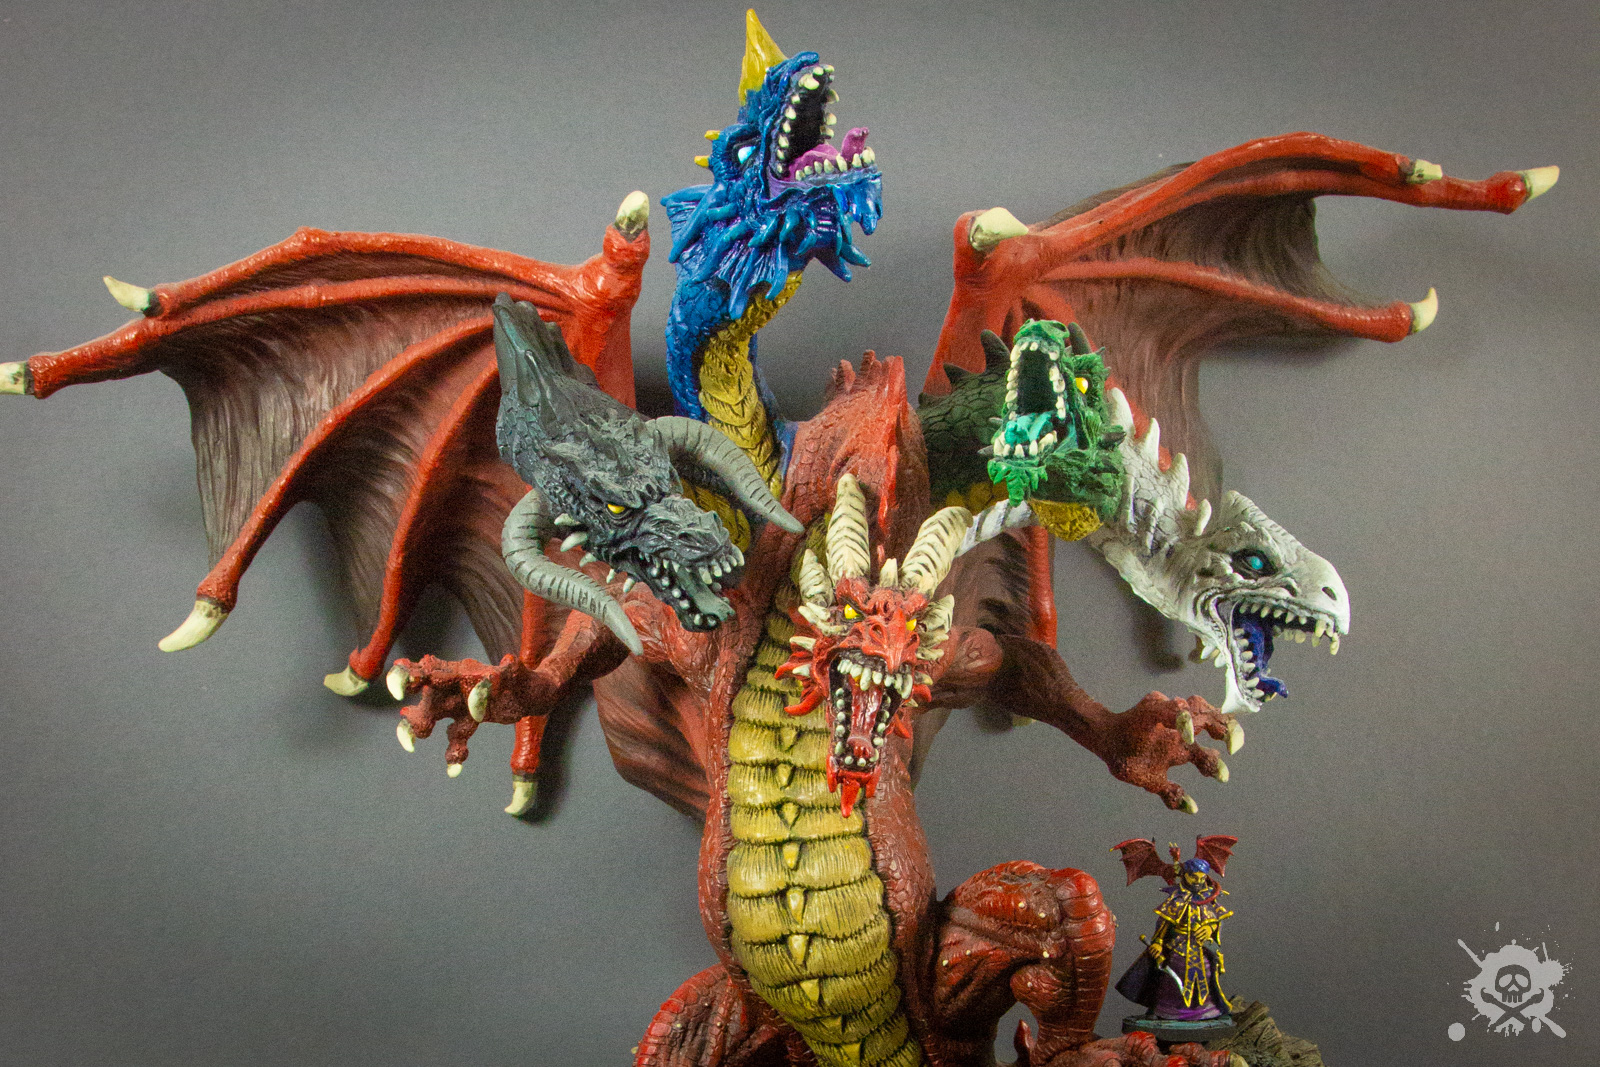
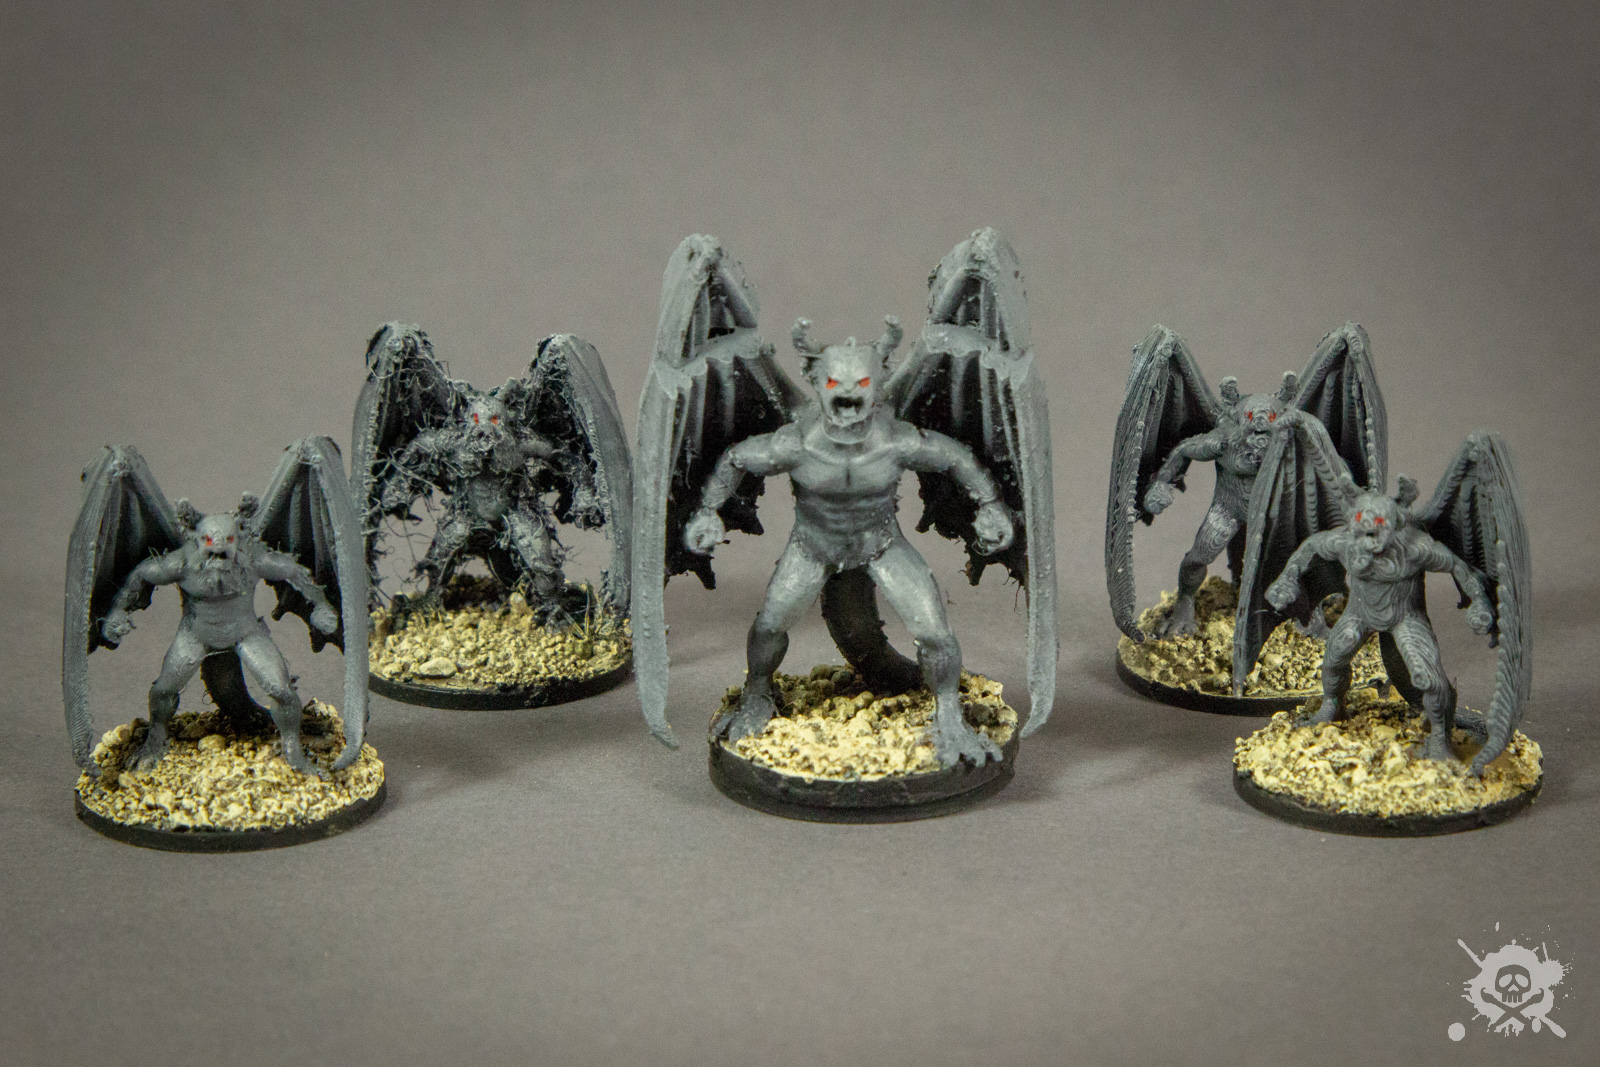
Finally, it was time to confront the true evil behind all the crisis. The Storm Giant oracles found the hiding place of the ancient blue dragon Iymrith in the Anauroch desert. The adventurers travelled to the dwarven town of Ascore, lost to the sand of the desert. They call Iymrith the Doom of the Desert and the Dragon of the Statues, and she commands legions of gargoyles to do her bidding. The Storm Dragons provided rare magic to the heroes, allowing them to become giants themselves to the final confrontation. Things got complicated, when the old red wyrm Klauth also appeared and pressured the heroes into an uneasy alliance for his help. Using all their resources, including an infernal contract to summon 12 Erinyes devils for the fight, Iymrith was killed. But she transferred her soul into a clone, and the adventurers had to find and defeat her a second time. But this time, there was no failsafe for the dragon witch. She was truly gone. Right?
The epilogue
Of course, I had some material left for my players to go beyond the scope of the Storm King’s Thunder campaign. We never did the Hill Giant or Stone Giant arcs, and Adventurer’s league material was also still available. However, we decided as a group that defeating Imyrith was a good conclusion to the story and ended the campaign. Story wise, the ancient red dragon Klauth was satisfied with the adventurers and ‘forgave’ them, because they delivered him the hoard of Iymrith and her territory. He would never let his new best agents go beyond his reach, and would always be back for more.
So, we finally finished Storm King’s Thunder after 27 months and about 75 sessions in November 2019.